¶ On Demand
For our Association partners who have this feature enabled, On Demand is a way to purchase classes that can be taken "On Demand". This module requires an integration with a third party system (for example, Thinkific).
¶ Creating An On Demand Course
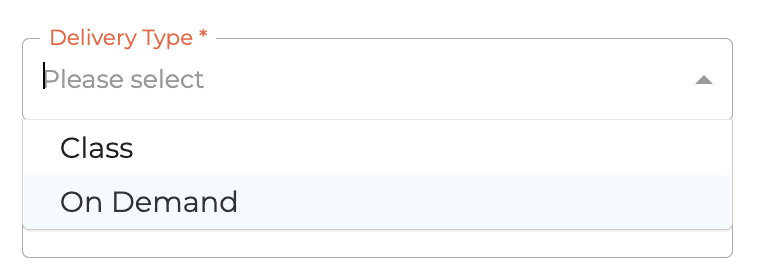
The only difference between creating an On Demand Course and a traditional Course, is the selection of the course Delivery Type. See below. Course Type. For a full description on how to create any kind of course, see Courses.
¶ Creating On Demand Class
Clicking on the - - icon causes the Create Class window to open from the right side of the dashbaord.
¶ On Demand Class Details
The first step is inputting the on demand class details. Input the Course, Instructors,Pricing (For Members and Non Members, or select Members only), Days of Access, and when Registration Opens and Closes. You will not be able to save until you have completed all the necessary fields. When picking the registration dates there will be limitations on them according to the expiration date of the Course and the Days of Access specified, so that users will always be able to use all of those days.
The On Demand Classes will be created as draft, so that Notifications can be configured before setting the class as active. Note that it is not necessary to configure notifications, to set the On Demand Class as active just edit it and select the active status.
¶ Working With Existing Classes
Draft Controls: Edit - | Delete - | Notifications - | Segments -
Active Controls: View - | Notifications - | Registrants - | Segments -
Expired Controls: View - | Notifications - | Registrants - | Segments -
¶ - Editing & Viewing On Demand Class Details & Pricing
An On Demand Class can be edited as long as it is in draft mode. Clicking on the - - icon will cause the Edit On Demand window to slide out from the right side of the dashboard. You have all of the same controls as appear in the Create Event window above. Once a class has been made actived or has expired, the Edit icon changes to a - - View Icon. These windows look the same, except one can be edited and saved and one is for viewing only.
¶ Managing Event Notifications
¶ Creating A New Notification
Notification Types and Email Templates are managed at the system level. They cannot be directly edited by Association staff. They are part of our defined "transactional" emails that members are unable to opt out of receiving.
Select the Notification Type, Email Template, and if required, the timing for the notification. The save button will not illuminate until you have selected all required information. The animation below will show you how to create the various notification emails available to you.
On Registration Email Template Options: Registration On Demand Confirmation.
Completion Email Template Options: Completion On Demand Confirmation.
Expiry Email Template Options: Expiry Reminder On Demand Notification.
¶ Sending Test Notifications
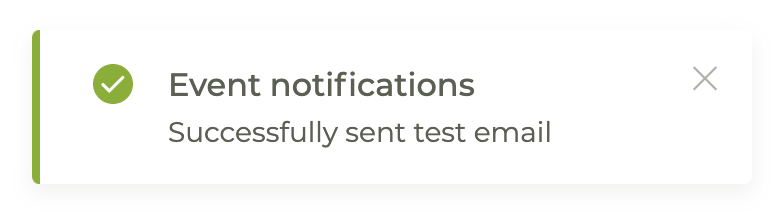
Clicking on the - - icon next to any On Demand Class notification will send a test notification. When successful, you will see the following message:
¶ Deleting A Notification
Clicking on the - - icon will cause a warning modal window to pop up to make sure you wish to delete the notification. If you do not want to delete the notification click cancel or the - - in the upper right corner of the modal window.
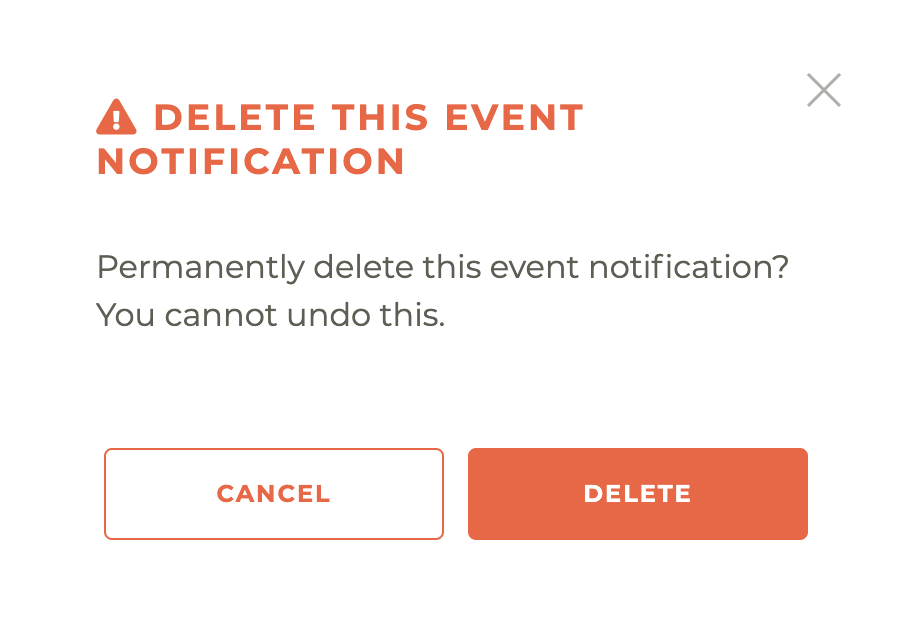
Please note: This action cannot be undone, not even by a member of the Tangilla staff. The only way to retrieve a deleted event notification is to create it again.
¶ Frequently Asked Questions
| # | Question | Answer |
|---|---|---|
| 1 | What is the On Demand feature in Tangilla? | On Demand lets associations sell classes that members can purchase and take at their own pace (“on demand”) once the module is enabled and integrated with a third-party e-learning platform. |
| 2 | Which third-party system is required to use On Demand? | The module must be connected to an external course-delivery platform such as Thinkific. |
| 3 | How do you create an On Demand Course? | Create a normal course in Tangilla but set the Delivery Type to On Demand; all other setup steps are the same as for a traditional course. |
| 4 | How do you start creating an On Demand Class? | Click the “+” create-class icon on the dashboard; a Create Class panel slides in from the right. |
| 5 | Which details are required before an On Demand Class can be saved? | You must enter the Course, Instructors, Member/Non-Member Pricing (or choose Members-only), Days of Access, and Registration Open/Close dates; the Save button stays disabled until every required field is complete. |
| 6 | Why are registration dates sometimes restricted? | Tangilla automatically limits the dates so that everyone who enrolls still has their full Days of Access before the Course’s expiration. |
| 7 | Are notifications required before activating a class? | No. You may configure notifications while the class is in Draft, but you can also simply edit the draft and set its status to Active even if no notifications are set. |
| 8 | Can an On Demand Class be edited after it goes live? | A class is editable only while it remains in Draft. After it’s marked Active or Expired, the Edit icon changes to View-only, blocking further changes. |
| 9 | What controls are available for Draft, Active, and Expired classes? | Draft: Edit, Delete, Notifications, Segments Active: View, Notifications, Registrants, Segments Expired: View, Notifications, Registrants, Segments |
| 10 | When is editing allowed on an On Demand Class? | Only while the class is in Draft; once the status is set to Active or Expired, editing is disabled. |
| 11 | How do you create a new event notification? | Choose the Notification Type, pick an Email Template, and (if required) set the timing; the Save button activates only after all required fields are selected. |
| 12 | Which notification email templates are available? | Registration On Demand Confirmation, Completion On Demand Confirmation, and Expiry Reminder On Demand Notification. |
| 13 | Can association staff edit notification types or templates? | No. Both Notification Types and Email Templates are managed at the system level and cannot be edited by association staff. |
| 14 | How can you send a test notification? | Click the test-notification icon next to an On Demand Class notification; a success message appears when the test email is sent. |
| 15 | Is deleting a notification reversible? | No—deleting a notification cannot be undone; it must be recreated from scratch if removed. |