¶ Classes
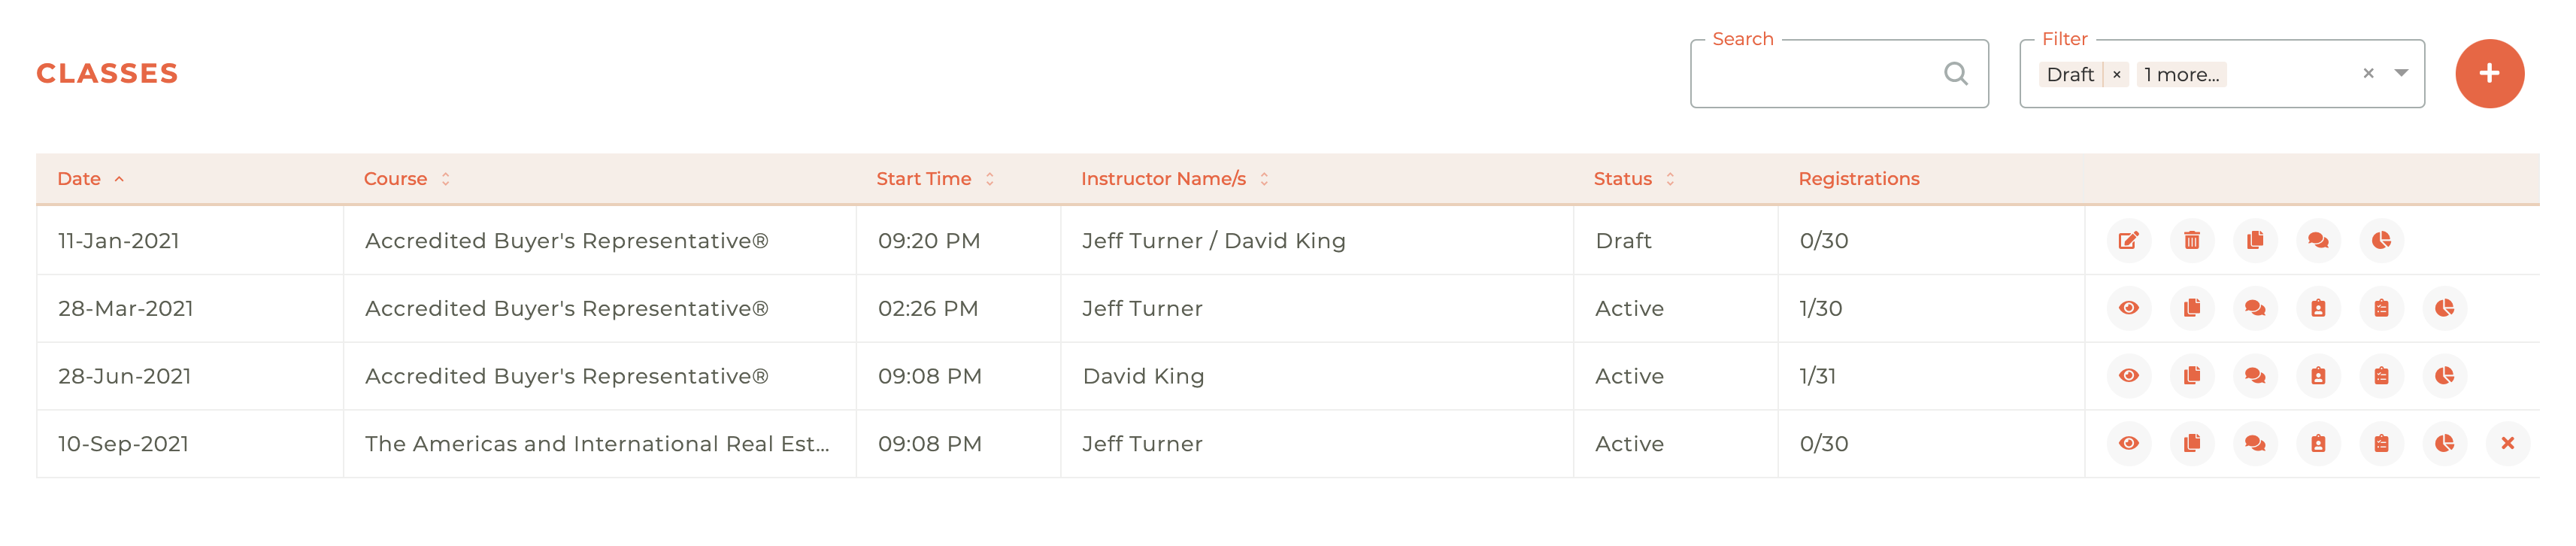
Every class you've created for your organization will appear here and will be managed here on the Classes dashboard. You may search by Course and filter by Status (Draft, Active, Closed, and Cancelled). You may also sort the list by Date, Course Start Time, Instructor Name, Status or Registrations by clicking on the title of any column.
¶ Creating A New Class
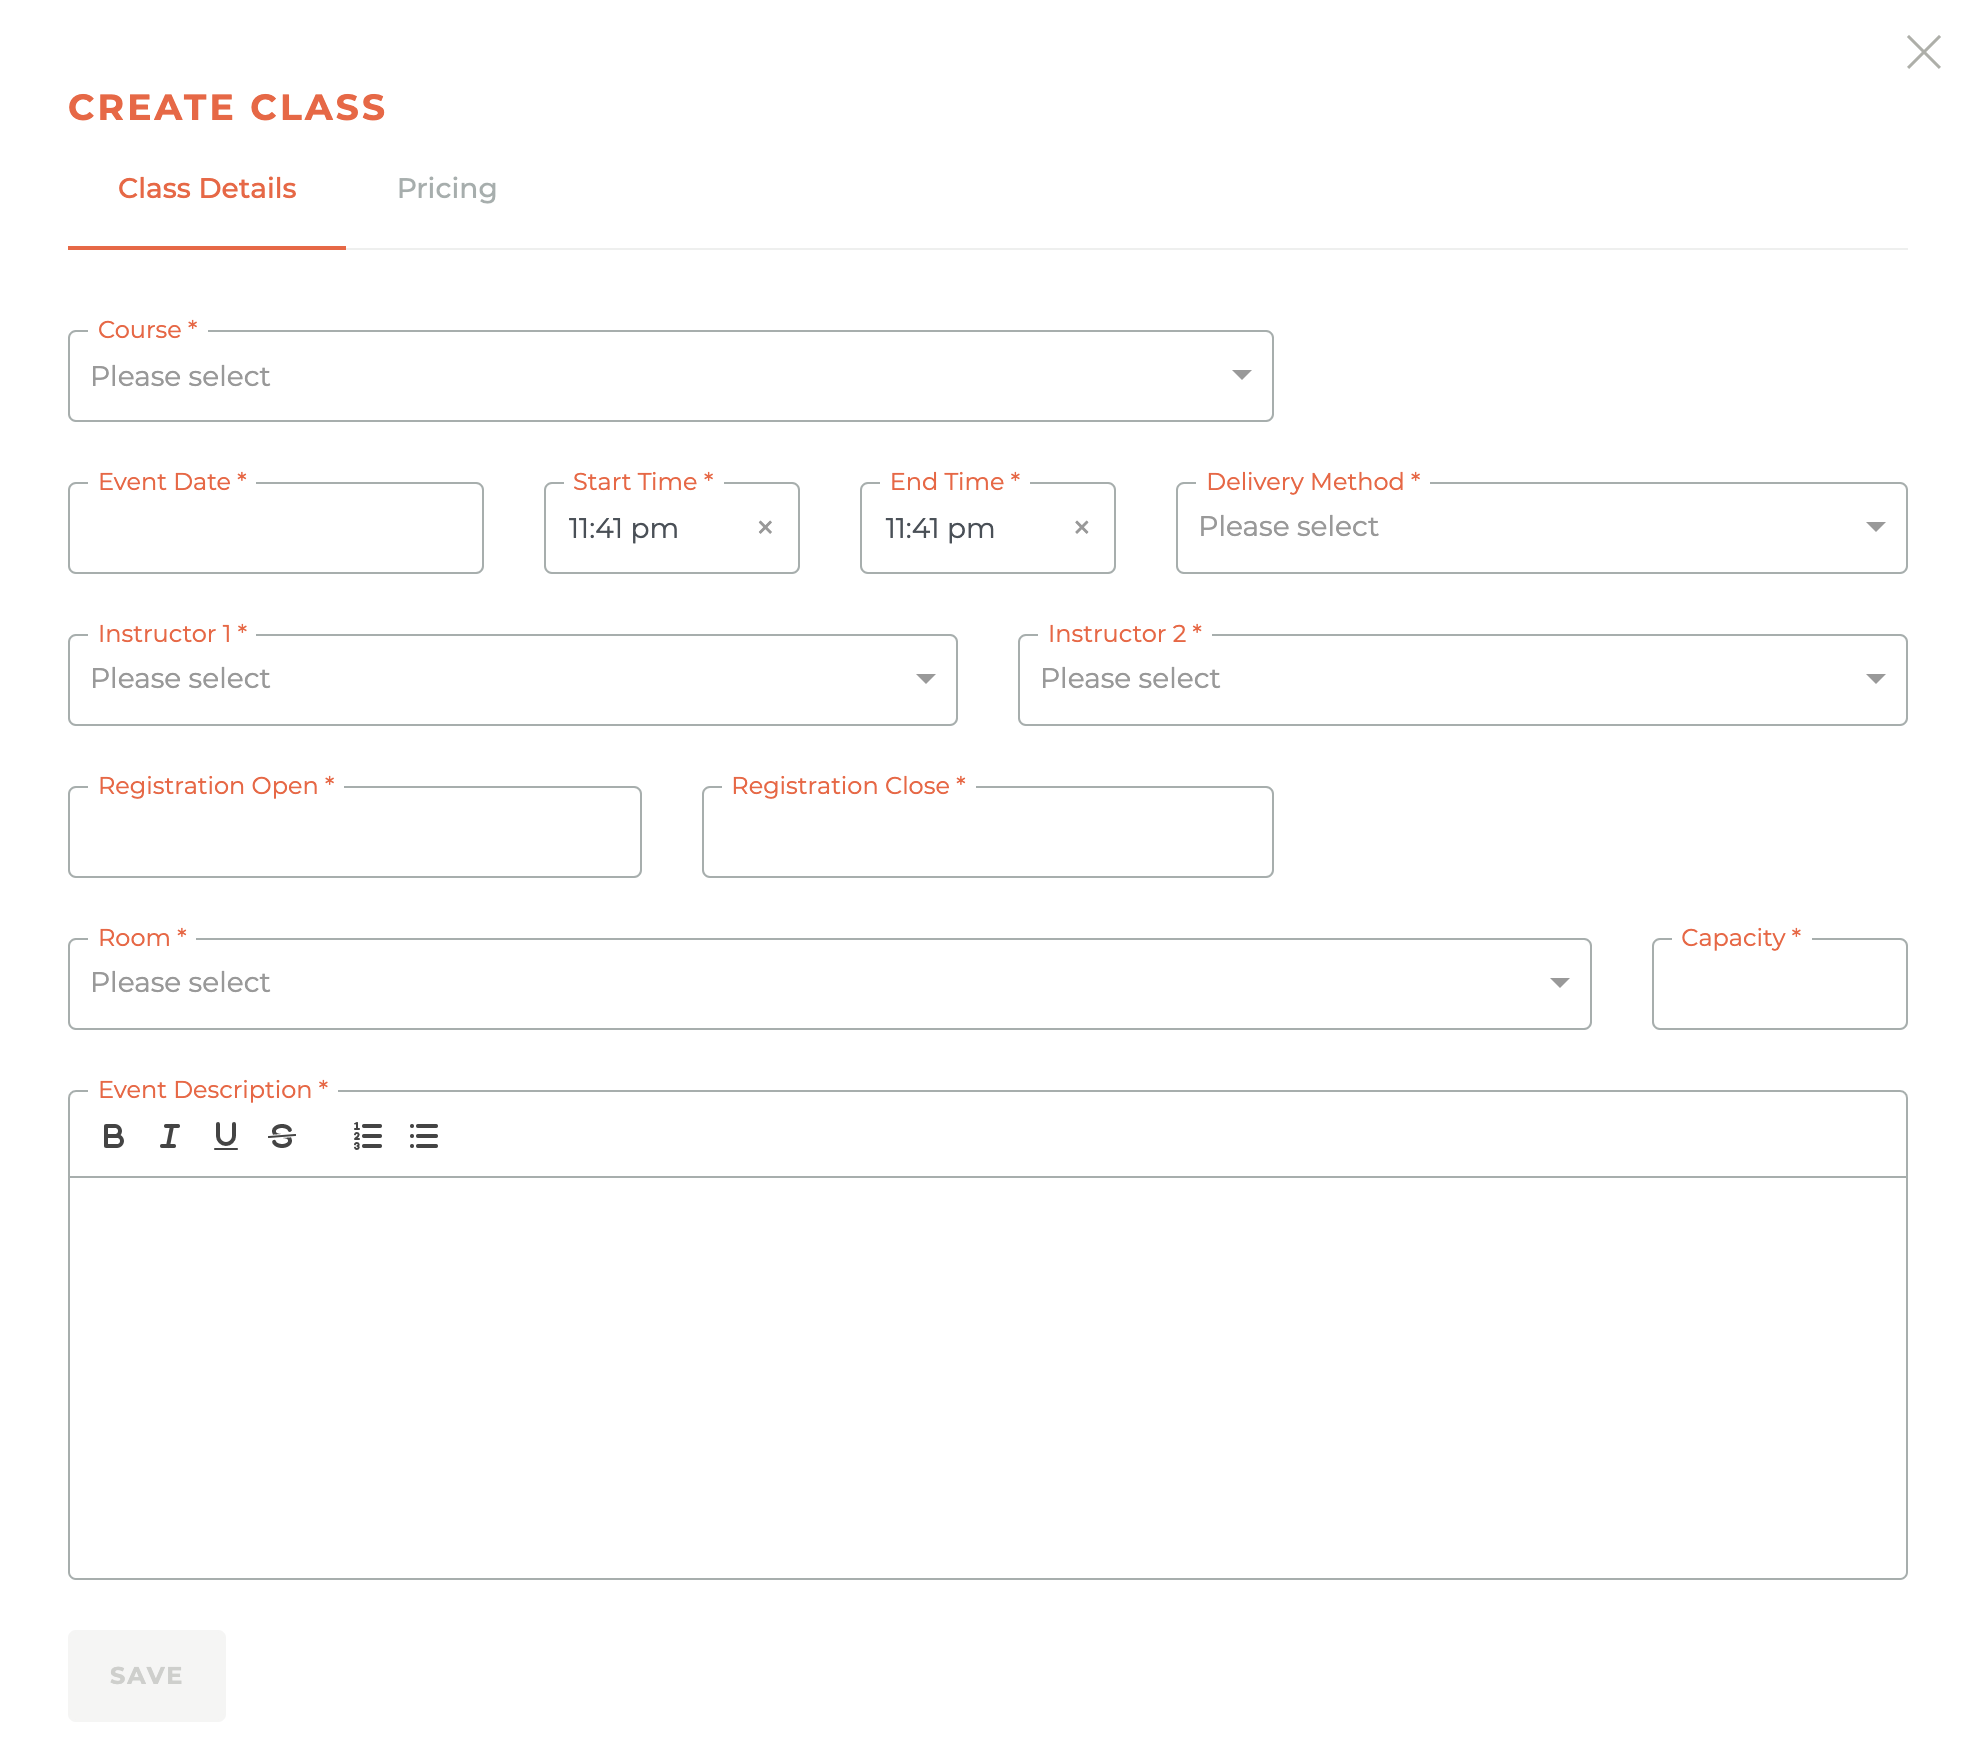
Clicking on the Plus - - icon causes the Create Class window to open from the right side of the dashbaord.
¶ Step 1: Class Details
The first step is inputting the class details. Input the Course, Event Date, Start Time, End Time, Delivery Method, Instructors, when Registration Opens and Closes, the Room and the Room Capacity. The capacity will automatically default to the room capacity as defined by Locations. Locations are the shared between the Education and Events modules. You will also provide an event description for the class here and will be able to style this content. Just select the text you wish to bold, italicize, underline, strikethrough, bullet list or number list. You will not be able to save until you have completed the pricing section in step 2.
¶ Step 2: Pricing
The second step is to input pricing information. This step allows you to determine who can attend, whether there is different pricing for members and non-members and whether there is and early bird price or a late booking fee. See the animation below:
¶ Working With Existing Classes
Draft Controls: Edit - | Delete - | Duplicate - | Notifications - | Segments -
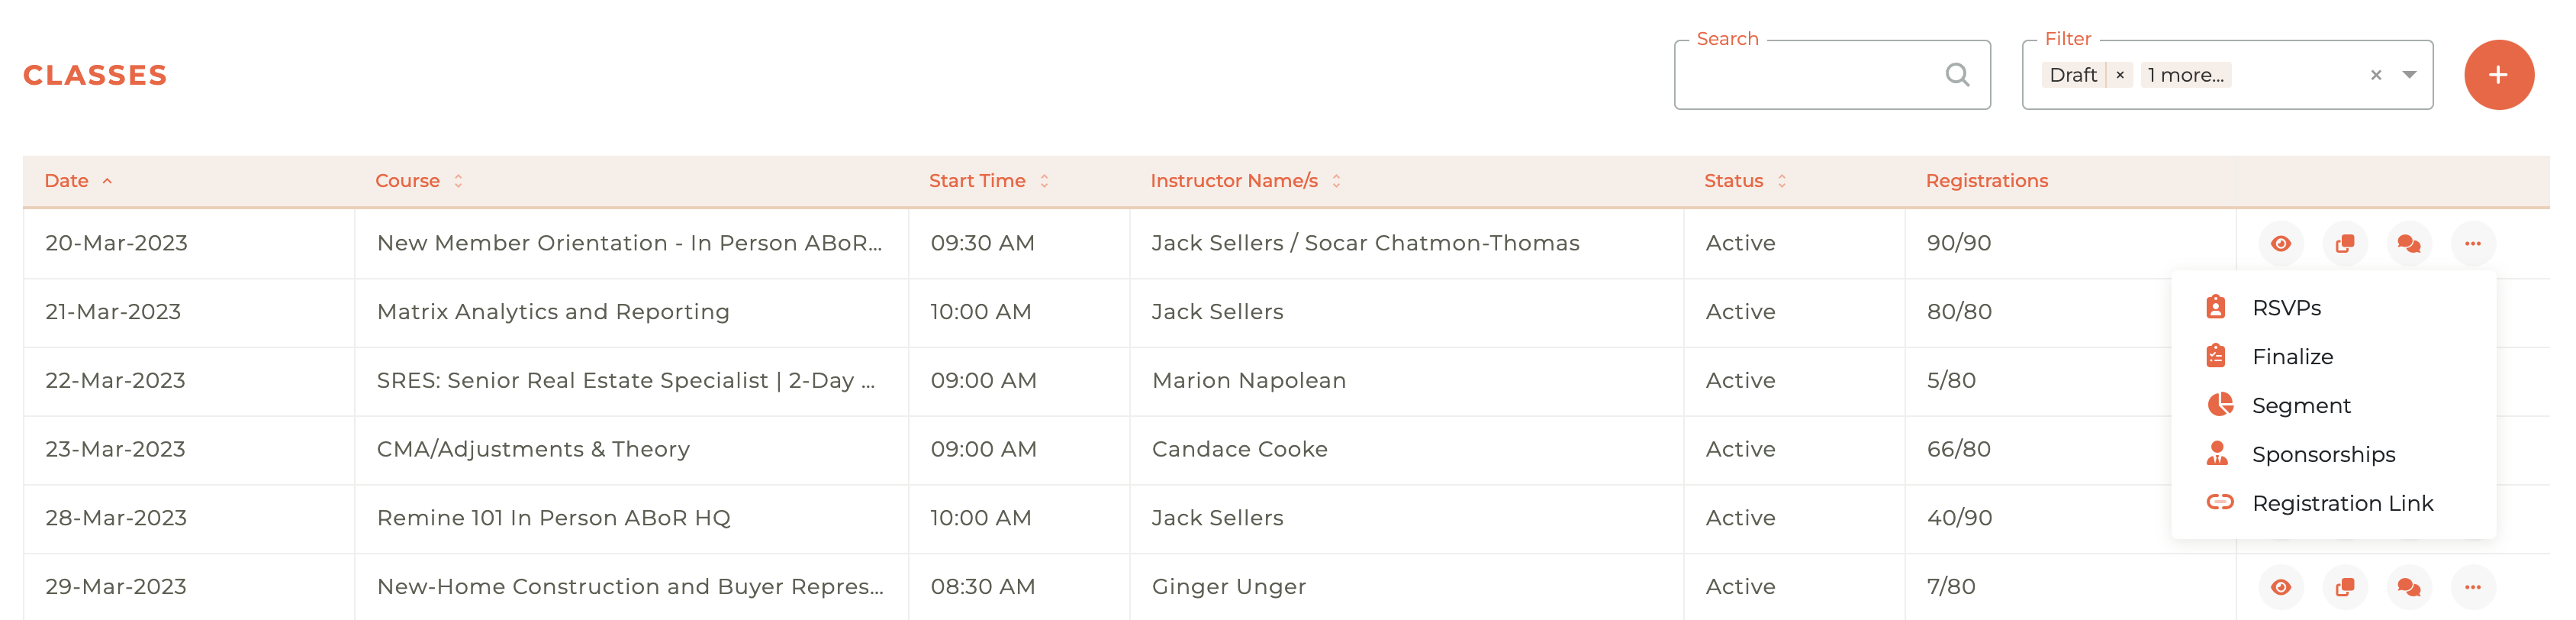
Active Controls: View - | Duplicate - | Notifications - | RSVPs - | Finalize - | Segments - | Sponsorship - | Registration Link -
Closed Controls: View - | Duplicate - | RSVPs - | Sign-in Download - | Segments (not editable) -
Cancelled Controls: View - | Duplicate - | Segments (not editable) -
¶ - Editing & Viewing Class Details & Pricing
A class can be edited as long as it is in draft mode. Clicking on the Edit - - icon will cause the Edit Event window to slide out from the right side of the dashboard. You have all of the same controls as appear in the Create Event window above. Once a class has been made active or closed, the Edit icon changes to a - - View Icon. These windows look the same, except one has all fields available for edit while the second one only allows changes on the Evaluation URL and the Capacity.
¶ Duplicating A Class
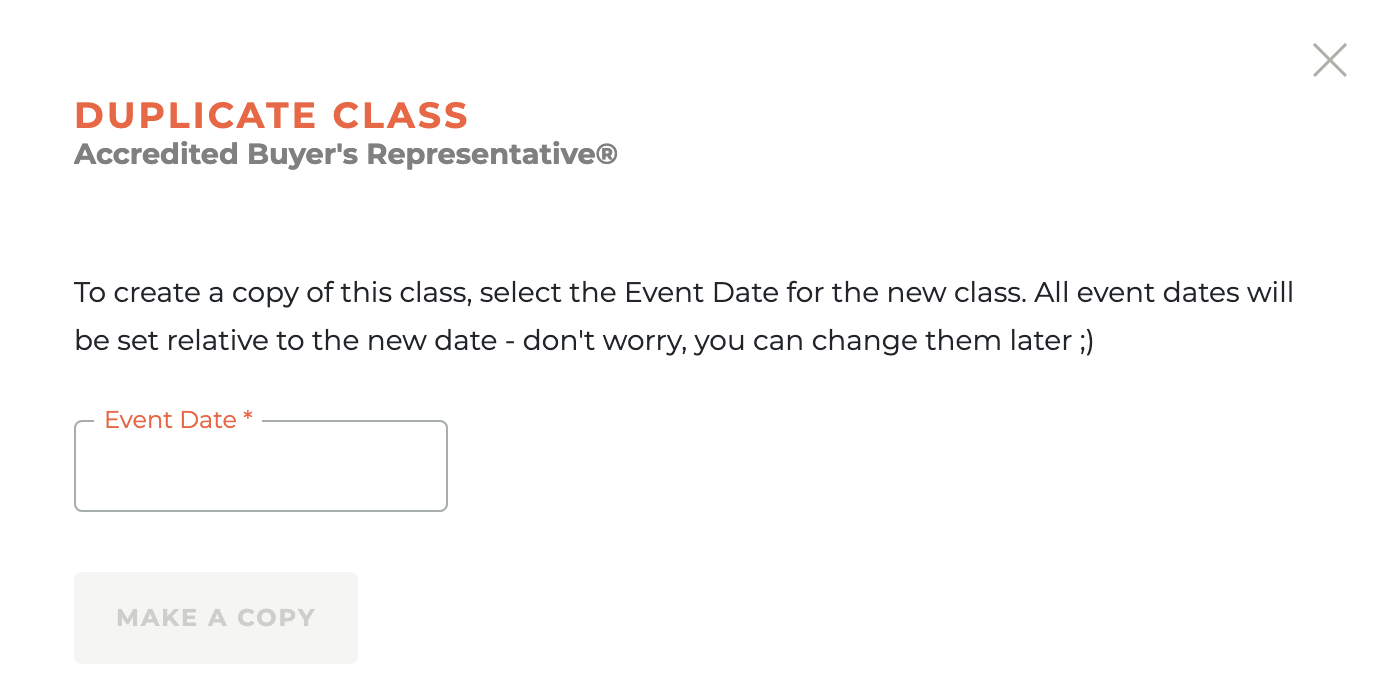
When you click on the Copy or Duplicate - - icon, the Duplicate Event window will slide out from the right side of the dashboard. Any event in any status can be duplicated.
To create a duplicate of any class, select the Event Date for the new class. When you save, all associated dates will be set relative to the new class date. You can change any of those once your selected class has been duplicated by simply editing that duplicated class that will now be in Draft mode in the Classes dashboard.
¶ Managing Event Notifications
¶ Creating A New Notification
Notification Types and Email Templates are managed at the system level. They cannot be directly edited by Association staff. They are part of our defined "transactional" emails that members are unable to opt out of receiving.
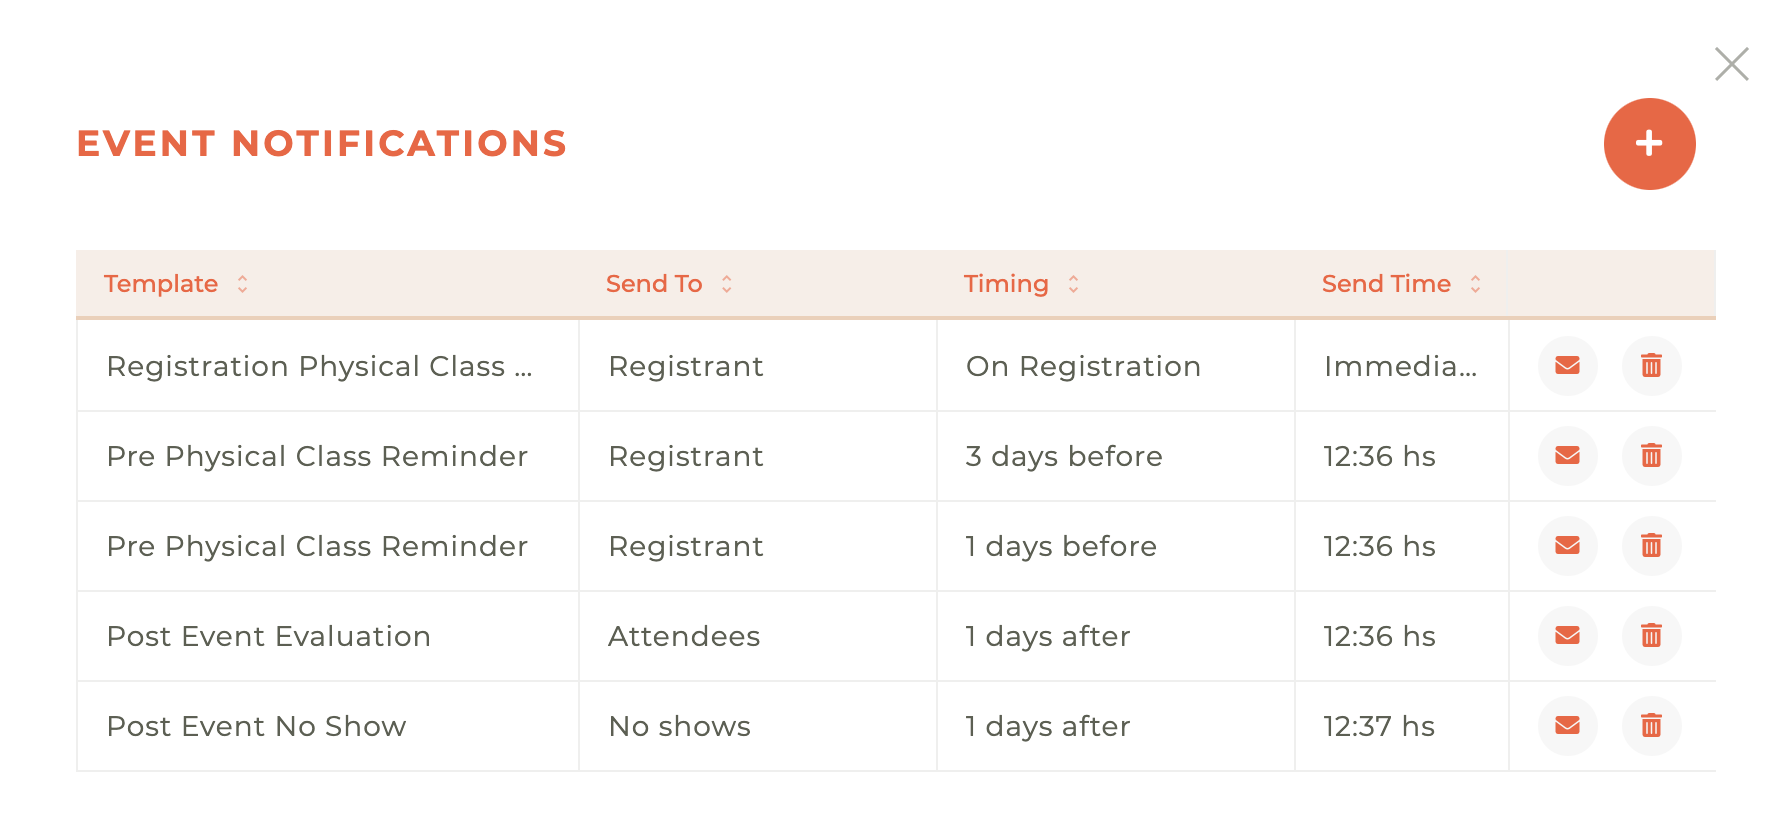
Select the Notification Type, Email Template, and if required, the timing for the notification. The save button will not illuminate until you have selected all required information. The animation below will show you how to create the various notification emails available to you.
On Registration Email Template Options: Registration Physical Class Confirmation, Registration Virtual Class Confirmation, and Registration Virtual Class Confirmation.
Before The Event Email Template Options: Pre Physical Class Reminder, Pre Physical Event Reminder, Pre Virtual Class Reminder. You can set a number of these up for every class/event if you choose.
After The Event Email Template Options: Post Event Evaluation, Post Event No Show. These can be sent to all RSVps, Attendees Only, Or No Shows Only.
¶ Sending Test Notifications
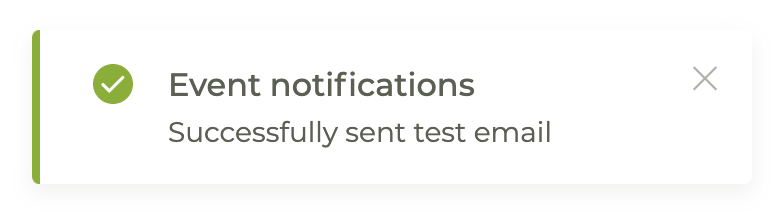
Clicking on the - - icon next to any class/event notification will send a test notification. When successful, you will see the following message:
¶ Deleting A Notification
Clicking on the Envelope - - icon will cause a warning modal window to pop up to make sure you wish to delete the notification. If you do not want to delete the notification click cancel or the X in the upper right corner of the modal window.
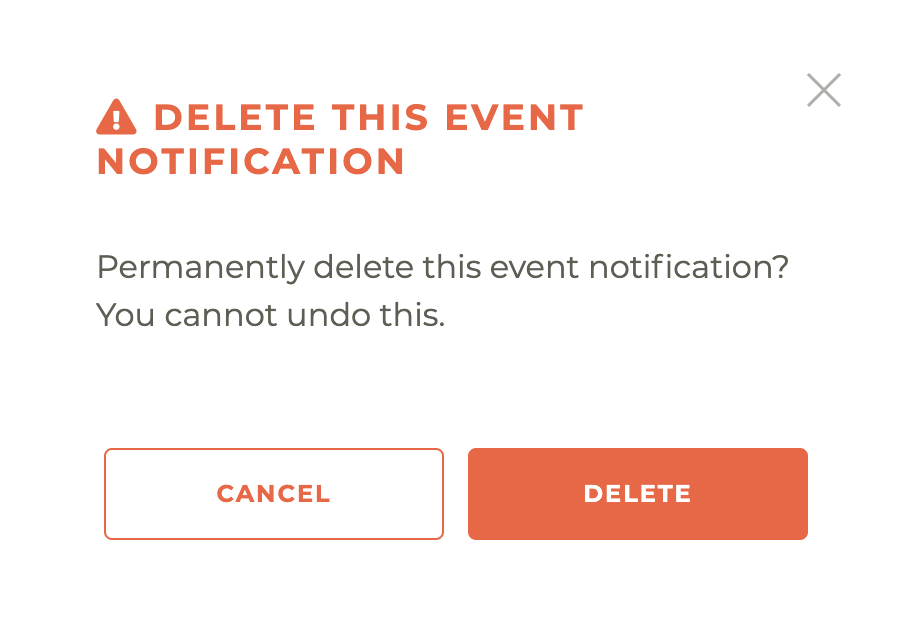
Please note: This action cannot be undone, not even by a member of the Tangilla staff. The only way to retrieve a deleted event notification is to create it again.
¶ Editing Notification Content Is Not Possible
We sometimes get asked about editing the notification that go out to members and subscribers who have signed up for a class or event. Most of the time it is about information that is eitehr specific to the class or specific to an association policy. Since these emails are system level emails, they are set across the platform and can't be edited. However, you can place that information in the description of the class or event, or in the location description. Things like this, "Attendees must arrive within 10 minutes of the scheduled start time. Anyone 10 minutes late or more will not receive credit for the class." This can be placed in the location description and will then be included in the updates.
¶ Managing Event Modification Notifications
Once a class has been made active, any change that you make to a Time/Date, Location/Room or Instructors is sent to existing RSVP's as a notification. So the process of making a change and notifying those who have RSVP'd has been wrapped into a single process that is accessed by the Comments - - icon.
Once a class is active, new options for notification appear. These options are Change Instructor, Change Location/Room, Change Date, and Cancel Event.
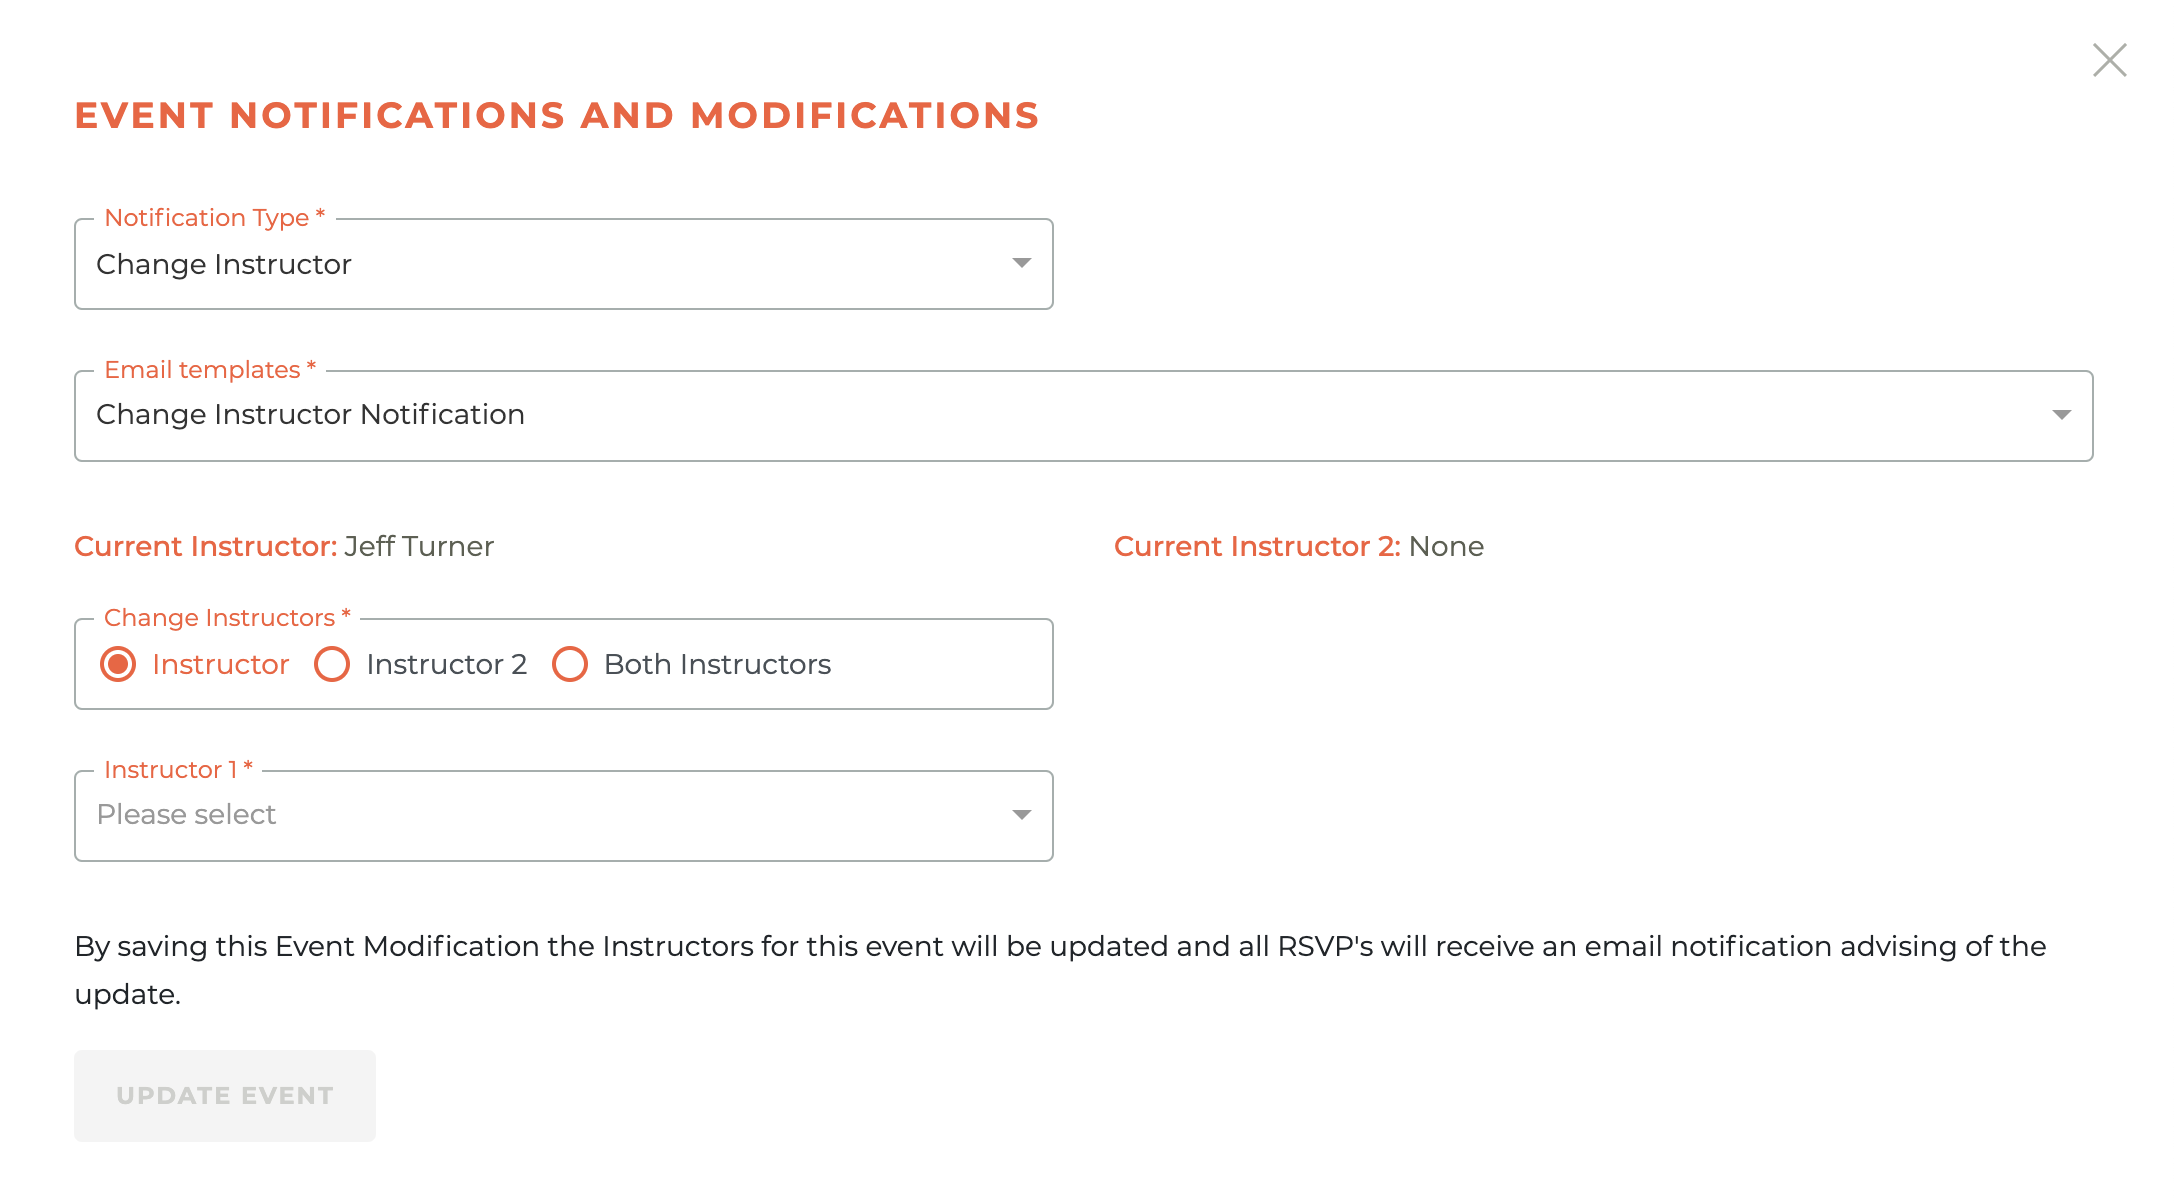
¶ Change Instructor
To change the instructor on an active class, choose the Change Instructor notification type and whether you want to change the main Instructor, Instructor 2 or Both Instructors. Once you have made your changes, click Update Event. By saving this Event Modification the Instructors for this event will be updated and all RSVP's will receive an email notification advising of the update.
¶ Change Location/Room
To change the location/room of an active class, choose the Change Location/Room notification type and the new room and capacity. Once you have made your changes, click Update Event. By saving this Event Modification the Location for this event will be updated and all RSVP's will receive an email notification advising of the update.

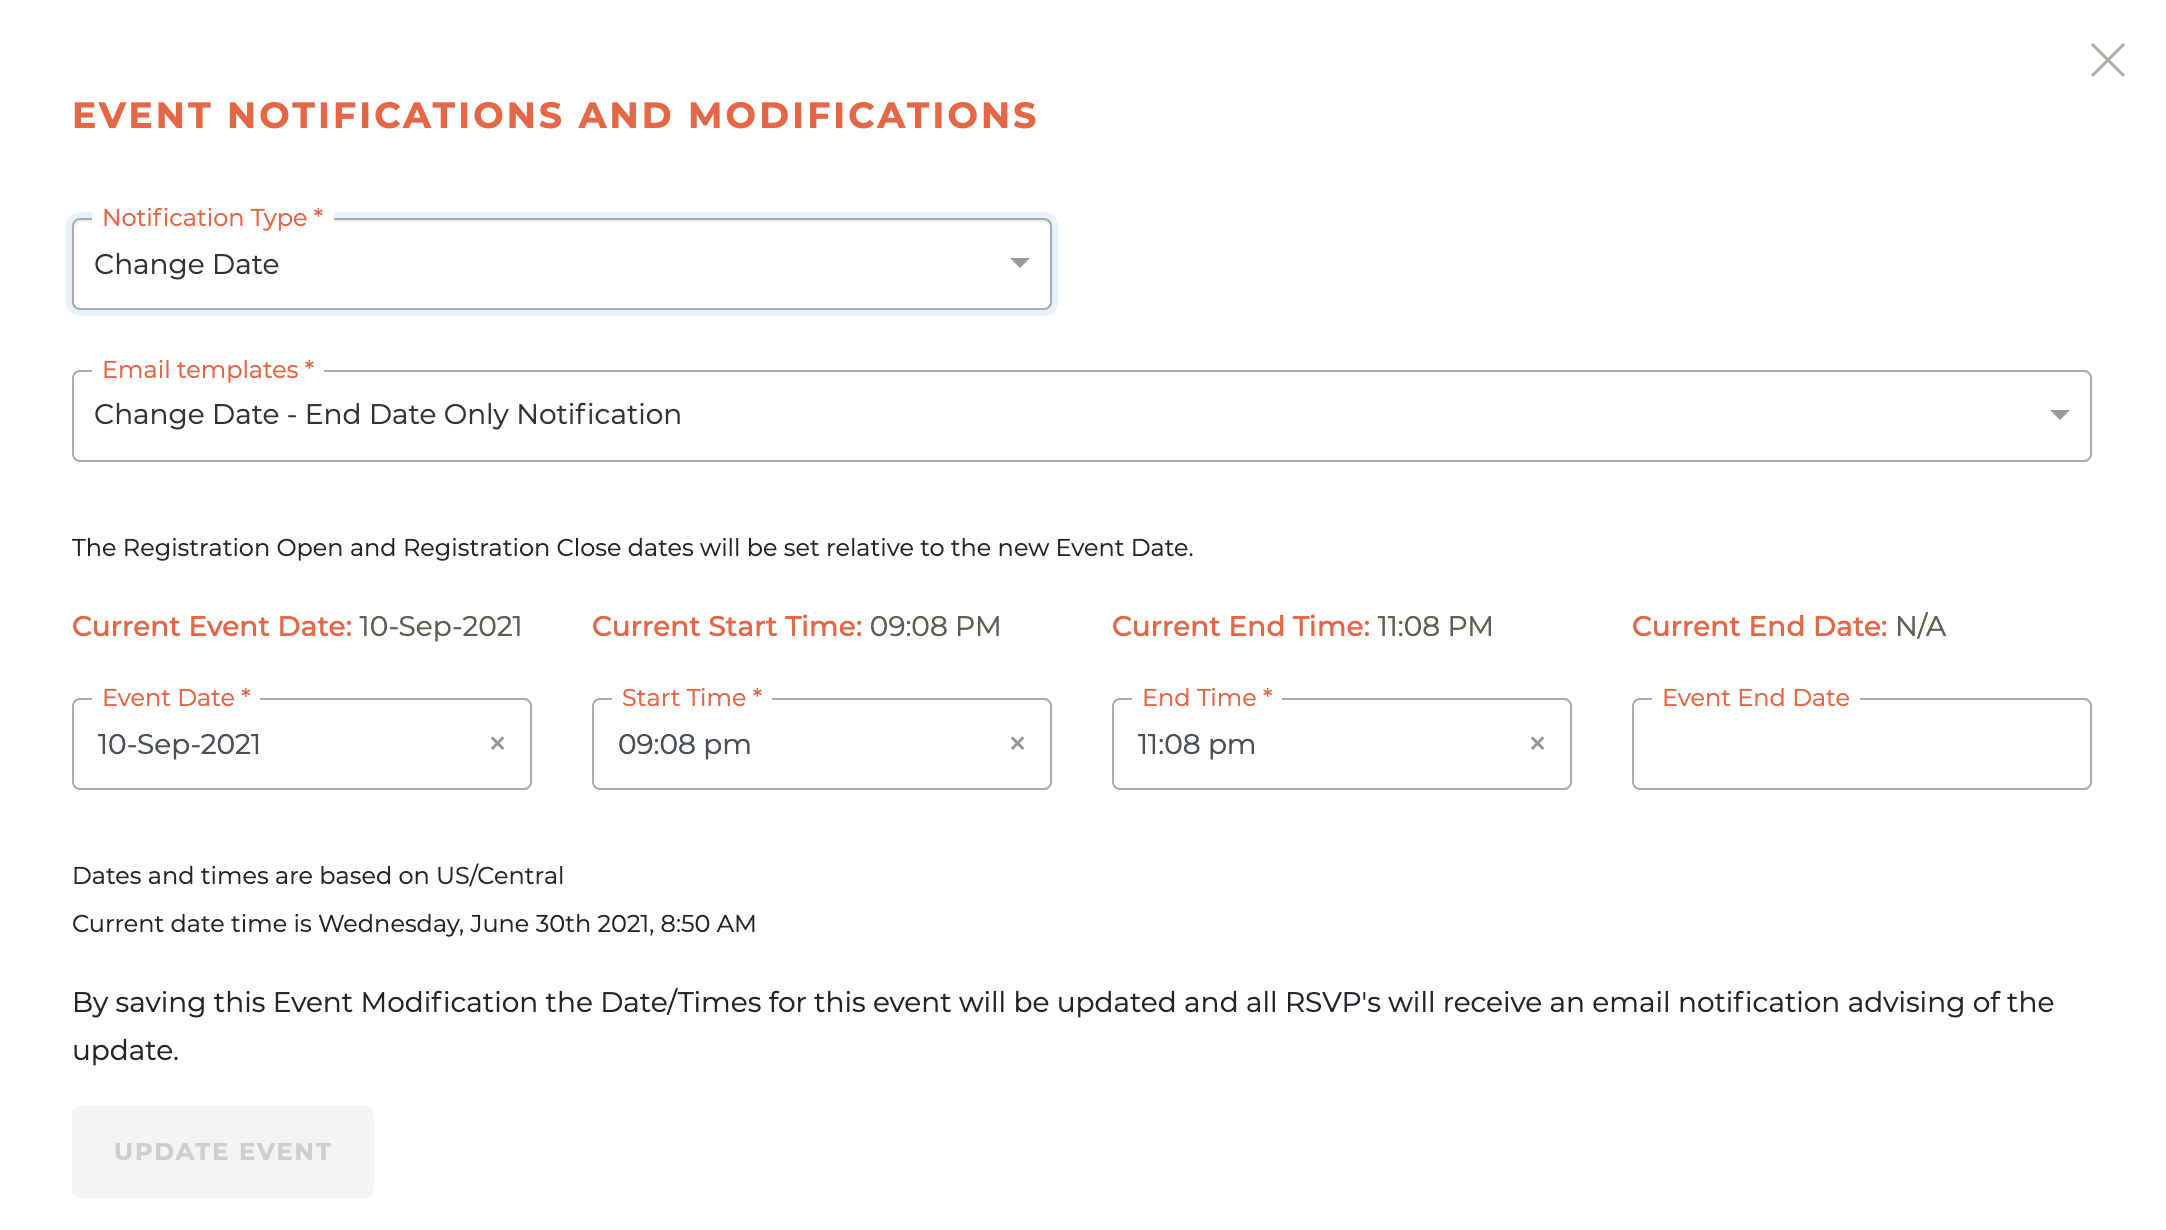
¶ Change Date/Time
To change the date or time of an active class, choose the Change Date notification type and the email template you wish to use. There are two email templates for this option, Change Date - End Date Only Notification and Change Date Notification. Once you have made your changes, click Update Event. By saving this Event Modification the Date/Times for this event will be updated and all RSVP's will receive an email notification advising of the update.
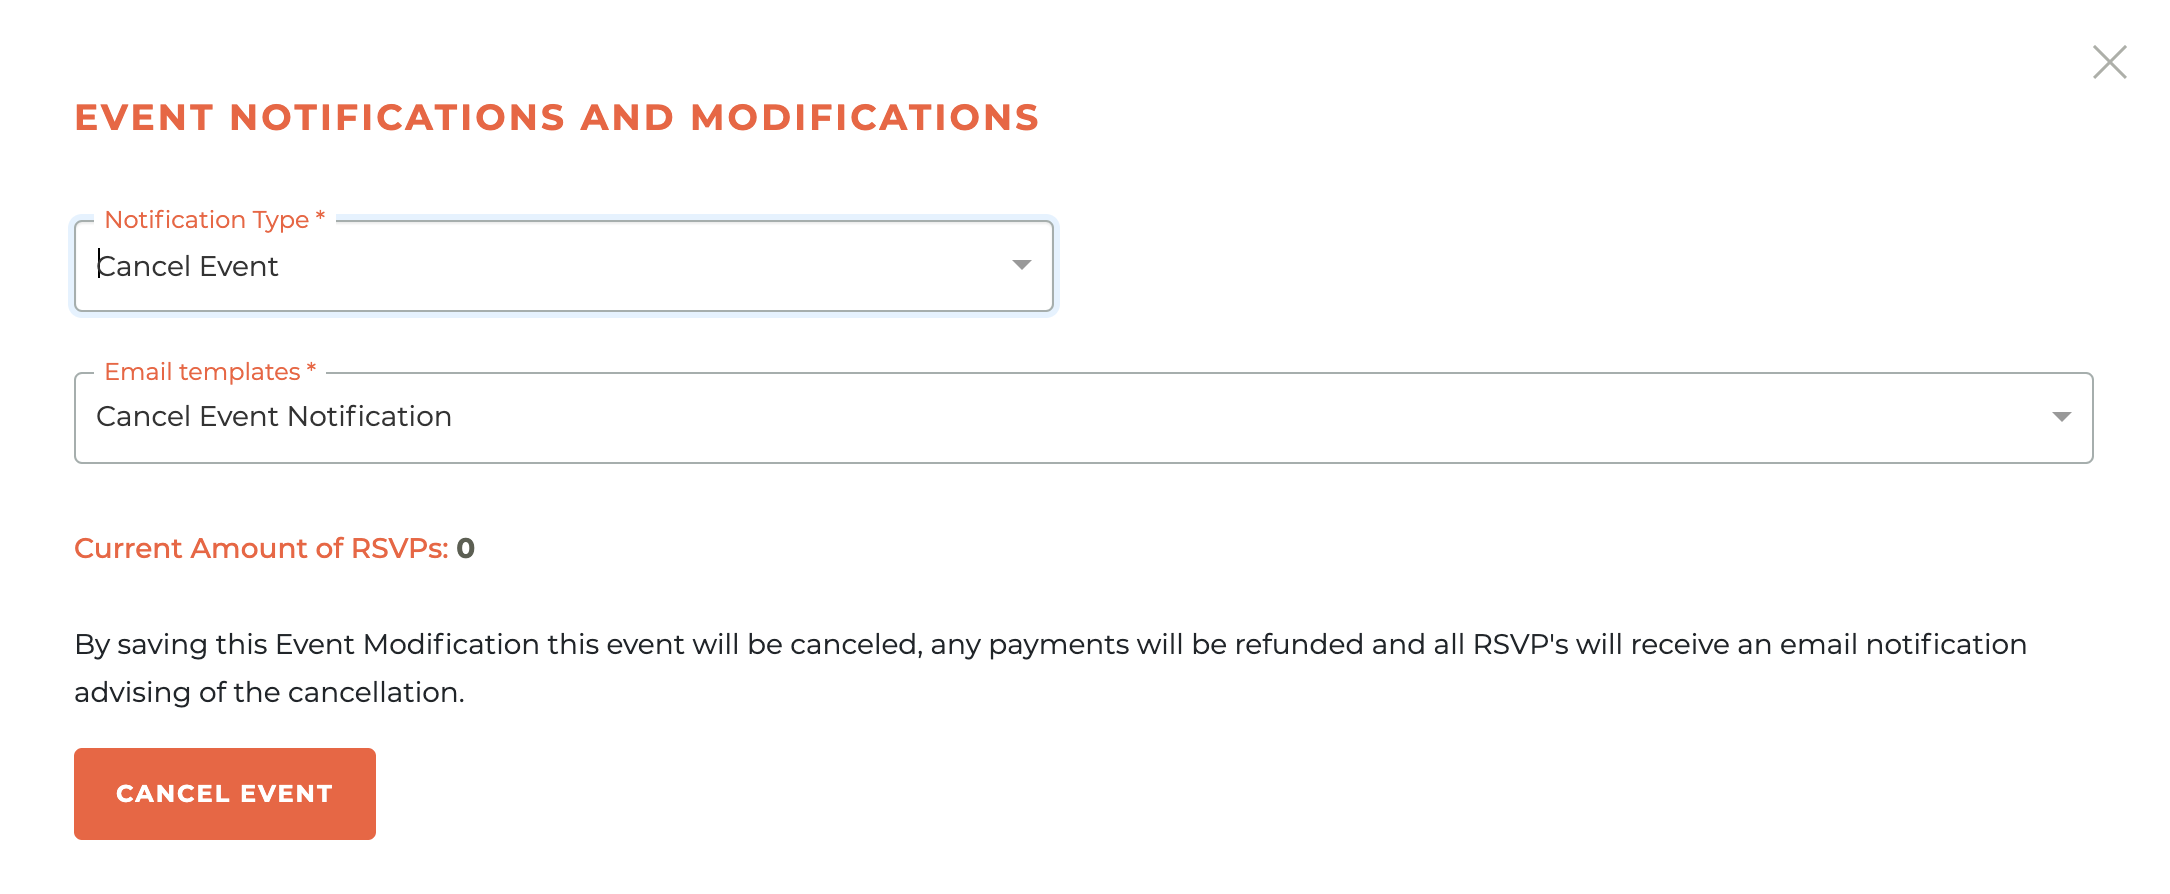
¶ Cancelling an Active Event with RSVP's
To cancel an active event that has RSVP's, choose the Cancel Event notification type. This will immediately make the Cancel Event button active. By saving this Event Modification this event will be canceled, any payments will be refunded and all RSVP's will receive an email notification advising of the cancellation.
You will receive a warning box once you have clicked on the Cancel Event button.
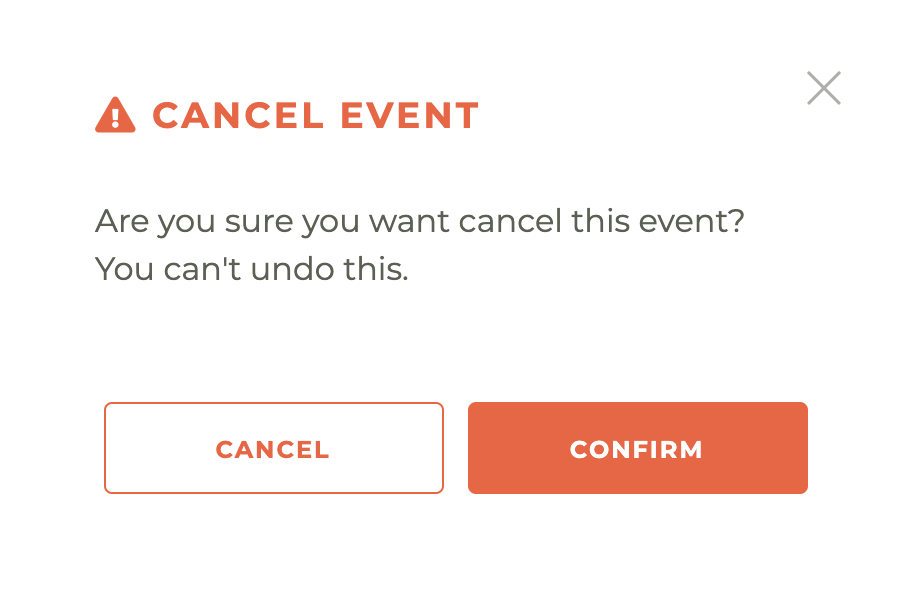
Please note: This action cannot be undone, not even by a member of the Tangilla staff.
¶ Adding A Segment (Desired Audience) To A Class
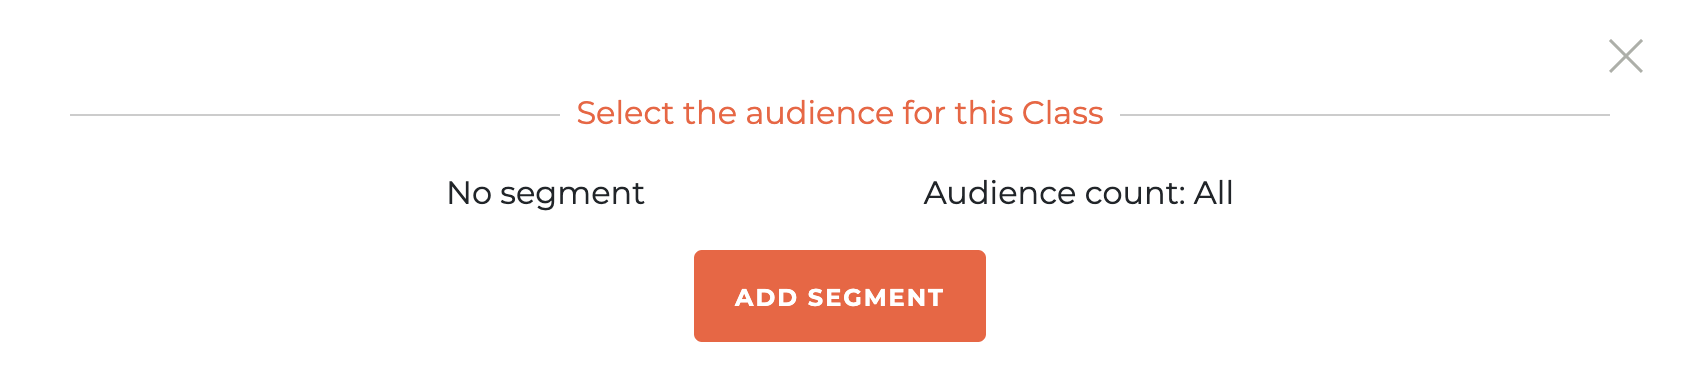
You can limit who can see (and therefore participate in) a class in the portal by adding a segment to a class. For example, if you only want the class to be available to Limited Referral Agents, then you would add a segment that only included Limited Referral Agents. Only one segment can be added to any class. Segments can be added or changed on any draft or active class. To add a segment click on the Pie Chart - - icon next to the class you wish to add the segment to. This will cause the Select An Audience For This Class window to slide out from the right side of the screen.
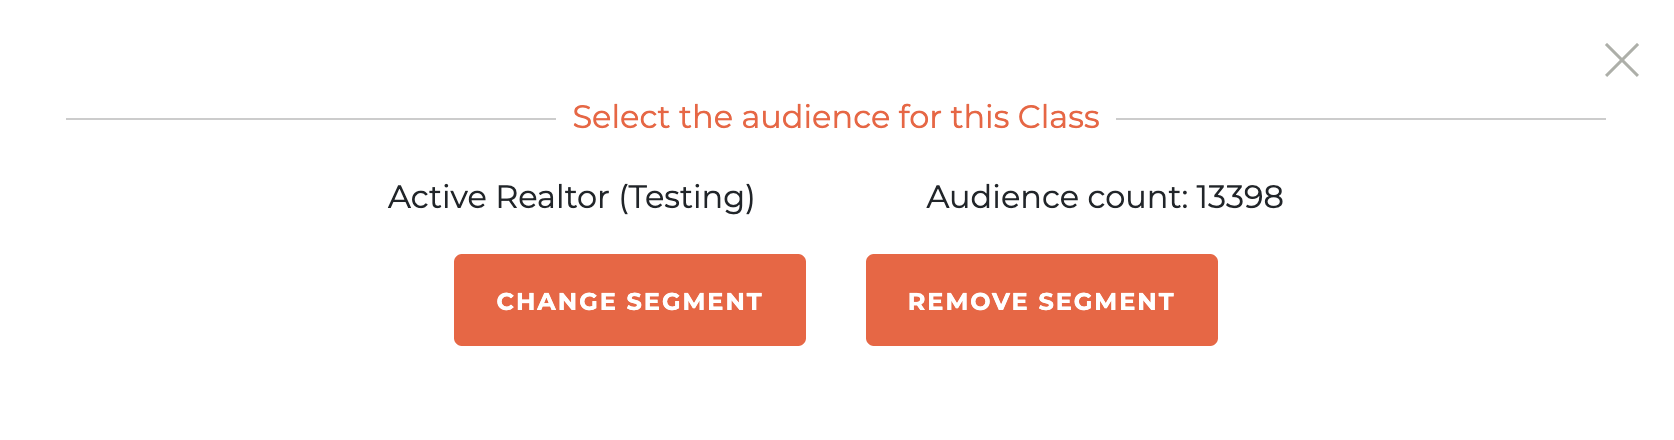
If an audience has already been chosen, it will show you the audience and audience count. It will also present you with two options, Change Segment or Remove Segment.
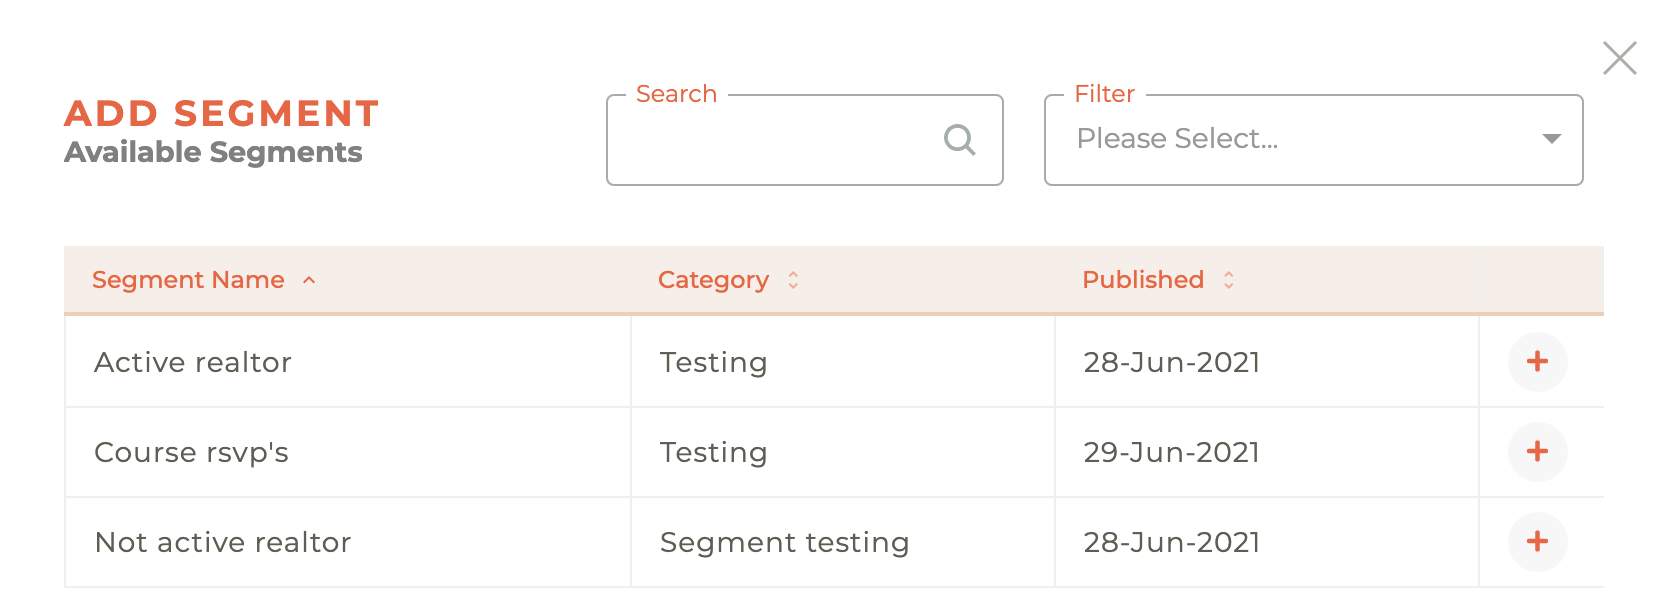
Once you have chosen add or change a segment, the Add Segment window will appear and provide you with your options. You may search by segment name and filter by segment category. Only published segments can be selected. These segments are managed in the segments module of Tangilla. Choose the segment you wish to add by clicking on the + sign next to the Segment.
¶ Managing RSVPs
To see who has responded to attend a class and mark their attendance, click on the Clipboard - - icon and it will cause the RSVPS window to slide out from the right side of the dashboard. You may select who has attended using this window and it will automatically mark them as attended when you are ready to finalize a class.
¶ Adding Someone To Class Manually
If you need to add someone to a class without them having to pay, or if it is after the registration deadline, clicking on the icon will open a slide to search a person to add to the RSVPs.
Note: this will NOT charge them if the class requires a fee. If you don't want to charge them, they can simply be added. If you need to charge them, an ad hoc invoice will need to be generated.
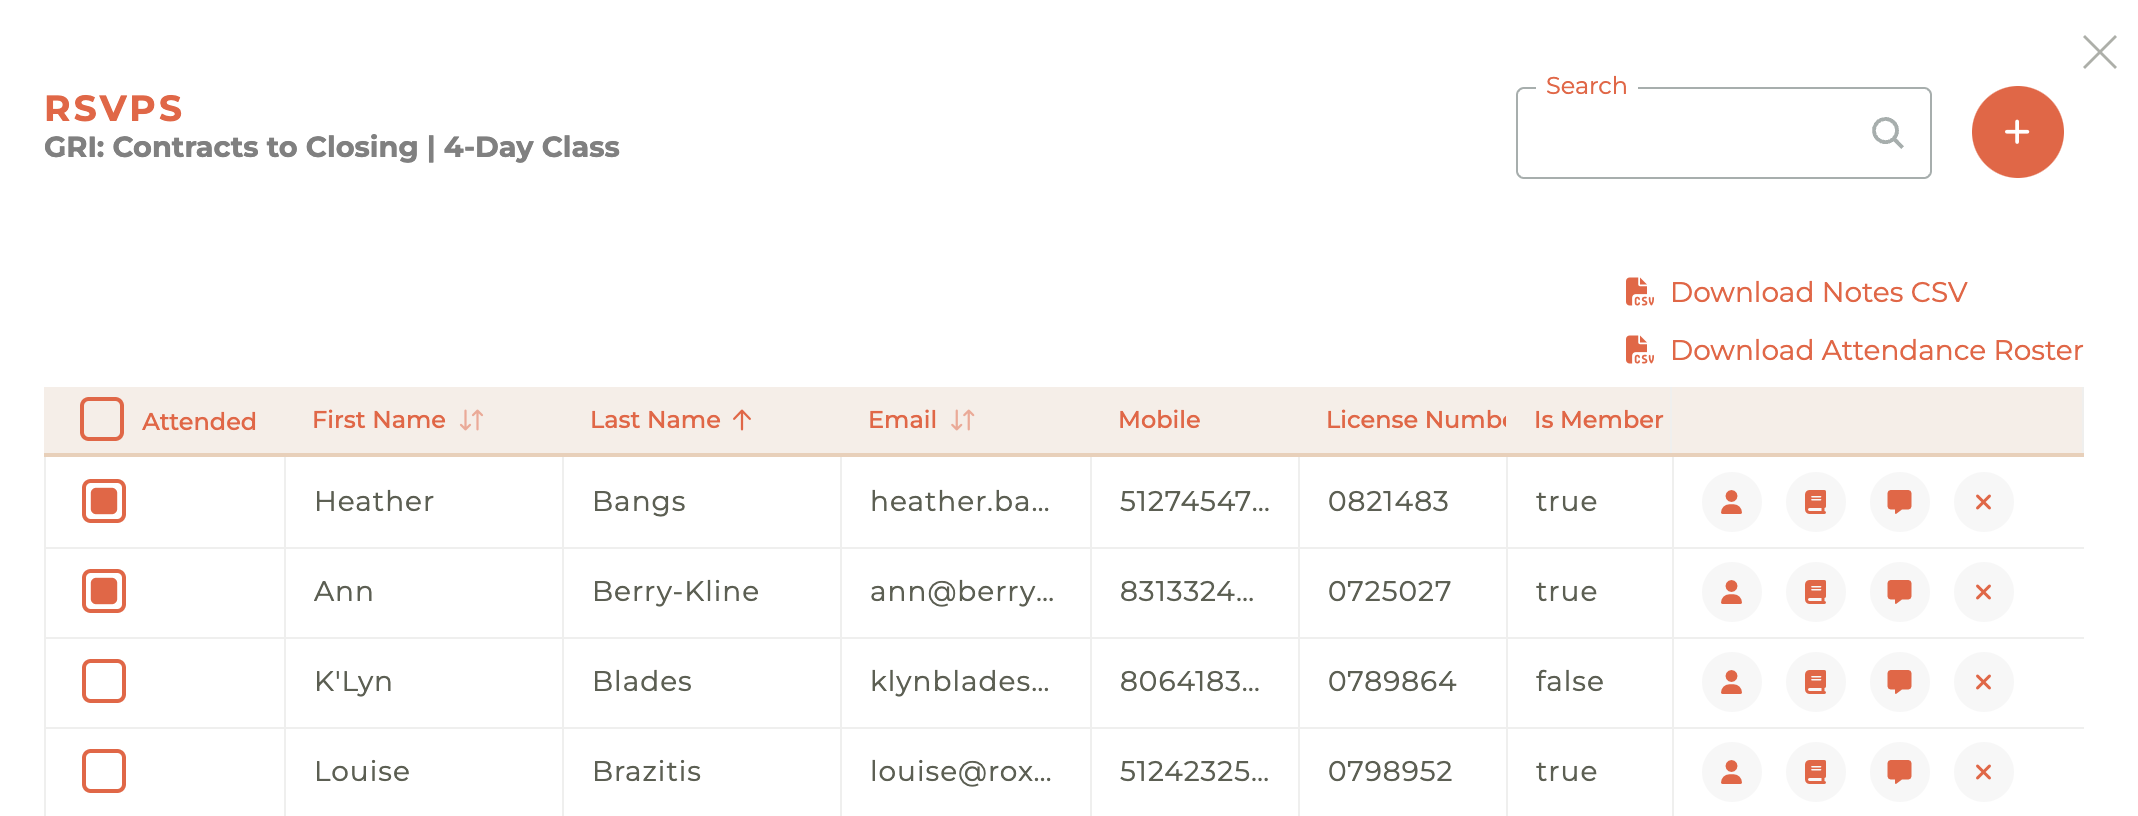
¶ Person Navigation
Clicking on the Person - - icon will cause a window to slide out from the right side of the screen. Instead, it will take you directly to the person record for that RSVP.
¶ Booking Details
Clicking on the Book - - icon will cause the Booking details window to slide out from the right side of the dashboard. Since one person can potentially book multiple people into a class, the booking details provide insight into everyone associated with a booking.
¶ RSVP Notes
Clicking on the Comment - - icon will cause the RSVP Notes section to slide out from the right side of the screen. Notes are time-stamped and capture who has left the note. Once a note has been entered, the icon changes to the Messages - - icon
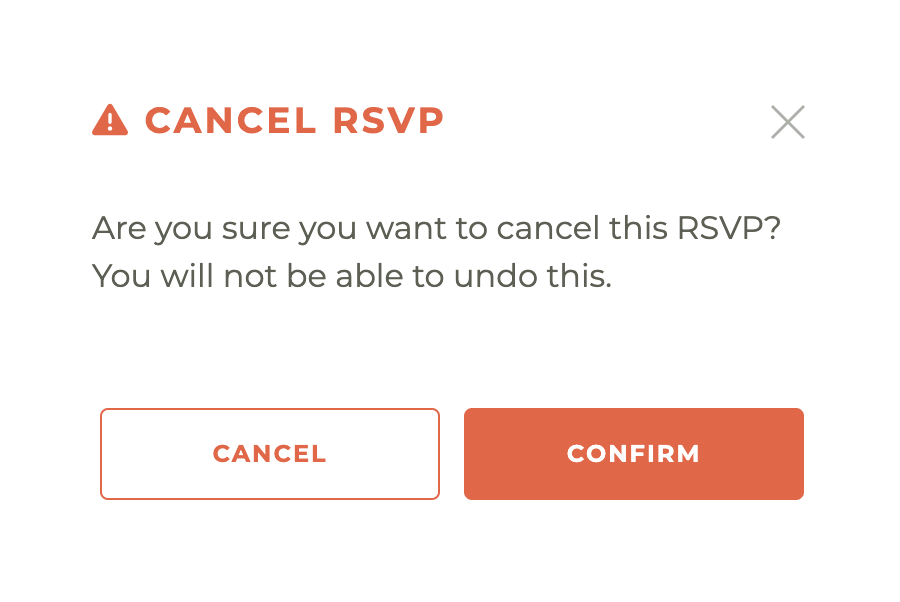
¶ Cancel A Booking
Clicking on the X icon will allow you to cancel an individual booking. A warning window will pop up and you will need to confirm that this is the action you wish to take.
¶ Finalizing A Class
Step 1 - Attendees
Select who attended and completed the class. Those you have marked as attended in the RSVPS will be marked as attended here as well. Additionally, you can select all for each category by using the radio button at the top of the column, or individual select of deselect for each person. You may also choose to include pass/fail and test scores.
Step 2 - Purchase Orders
Check to approve the sending of purchases orders to instructors automatically.
Step 3 - Upload Sign-in Sheet
There is also an option to upload a scan of the sign-in sheet.
The animation below will illustrate the options and process:
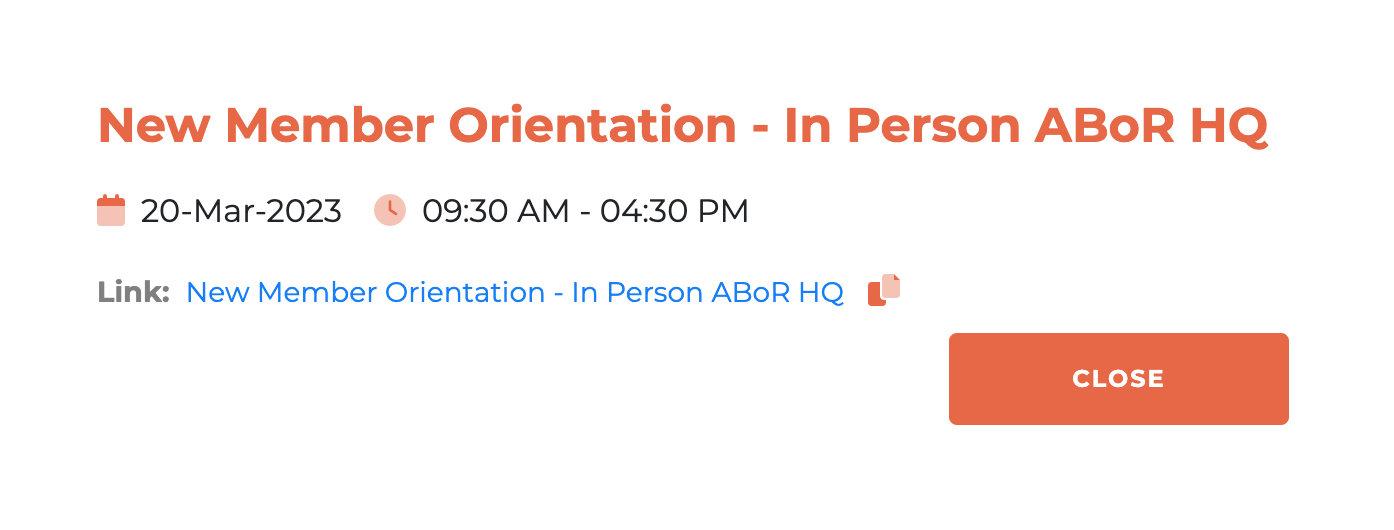
¶ Registration Link
To get to your "deep link" that will take a user to the specific class for registration, click on the Link - - icon and you'll be presented with the class details and a copy link option.
¶ Class and Events Payments.
Payments for classes and events are only accepted by Credit Card so as class cancelation and refunds are supported automatically. Telecheck does not support refunds via RECN.
¶ Frequently Asked Questions
| # | Question | Answer |
|---|---|---|
| 1 | Where can I manage all classes for my organization? | All classes are managed on the Classes dashboard, where you can search by Course, filter by Status, and sort by various columns such as Date, Instructor Name, and Registrations. |
| 2 | How do I create a new class? | Click on the Plus icon. This opens the Create Class window where you will input Class Details in Step 1 and Pricing in Step 2. |
| 3 | Can I edit a class after it is created? | Yes, but only if the class is in Draft status. Once active or closed, you can only view and make limited updates like Evaluation URL and Capacity. |
| 4 | What are the steps to duplicate a class? | Click the Duplicate icon. Select a new Event Date for the duplicated class. The new class will appear in Draft mode and can be edited as needed. |
| 5 | Can I restrict class visibility to a specific group? | Yes, by adding a Segment to a class. Only one Segment can be added, and it restricts visibility to a defined audience. |
| 6 | What types of notifications can be created for a class? | Notification types include On Registration, Before the Event, and After the Event, each with specific templates. These are system-level and cannot be customized. |
| 7 | Can I send a test notification? | Yes, clicking the Envelope icon next to a notification sends a test email and confirms success with a message. |
| 8 | What happens when I cancel an active class with RSVPs? | Select Cancel Event, which triggers a refund for payments and sends notifications to all RSVPs. This action cannot be undone. |
| 9 | How do I finalize a class? | Go through steps to confirm attendance, send purchase orders, and upload the sign-in sheet. These are accessed via the Finalize icon. |
| 10 | How are payments for classes handled? | Payments are accepted by Credit Card only. Telecheck does not support refunds through RECN. |
| 11 | What controls are available for draft classes? | Draft classes can be edited, deleted, duplicated, have notifications set, and segments added. |
| 12 | What controls are available for active classes? | Active classes can be viewed, duplicated, finalized, have RSVPs, notifications, sponsorships, registration links, and segments managed. |
| 13 | What controls are available for closed classes? | Closed classes can be viewed, duplicated, RSVP managed, have sign-in downloads and view-only segments. |
| 14 | What controls are available for cancelled classes? | Cancelled classes can be viewed and duplicated; segments are view-only and not editable. |
| 15 | Can you delete a class notification? | Yes, clicking the trash icon next to the notification prompts a confirmation modal. Deletion is permanent and cannot be undone. |
| 16 | Can notifications be customized by staff? | No, all notification content is managed at the system level and cannot be customized by association staff. Custom class-specific info should be added to class or location descriptions. |
| 17 | How are changes to active classes communicated to RSVP’d users? | Through event modification notifications for changes to instructor, location/room, date/time, or cancellation. RSVP’d users are automatically notified. |
| 18 | How do I change an instructor for an active class? | Use the Change Instructor notification type, select the instructor to update, and save the event. All RSVP’d users will be notified. |
| 19 | How do I update the location/room for an active class? | Use the Change Location/Room option, select the new room and capacity, and save the event. A notification will be sent to all RSVP’d users. |
| 20 | How do I update the date/time of an active class? | Select the Change Date notification type, choose an email template, make your edits, and save. RSVP’d users will be notified of the update. |
| 21 | Can I cancel individual RSVPs? | Yes, clicking the “X” icon next to a person’s RSVP will prompt a confirmation to cancel that individual booking. |
| 22 | How do I access the registration link for a class? | Click the Link icon for the class to view its details and copy the registration deep link. |
| 23 | Can I add attendees manually to RSVPs? | Yes, use the Plus icon in the RSVPs window to search for and add individuals. |
| 24 | How do I review booking details for a class? | Click the Book icon in the RSVPs window to view all individuals associated with a booking. |
| 25 | What details can be styled in the class description? | You can bold, italicize, underline, strikethrough, and use bullet or numbered lists in the class description field during creation. |
| 26 | What happens when you update event information post-activation? | RSVP'd users automatically receive a notification if you change the instructor, location, or event time/date of an active class. |
| 27 | Can you track attendance and scores in a class? | Yes, you can mark attendance, include pass/fail info, and even record test scores during class finalization. |
| 28 | Where do Segments come from and how are they added? | Segments must be published in the Segments module. You add them to classes via the Pie Chart icon. Only one Segment can be used per class. |
| 29 | How do you view or add notes to an RSVP? | Click the Comment icon to open the RSVP Notes section. Notes are timestamped and indicate the author. The icon changes to the Messages icon after a note is added. |
| 30 | What happens if I try to delete a notification accidentally? | A warning modal will appear to confirm your choice. If confirmed, deletion is permanent and must be recreated manually if needed again. |