¶ Portal Tiles
Portal Tiles are images that display in the member portal to lead members to resources, services, or other external links. They function as a form of dashboard for the member. All of the Portal Tiles you've created are located here in the Portal Tile Dashboard.
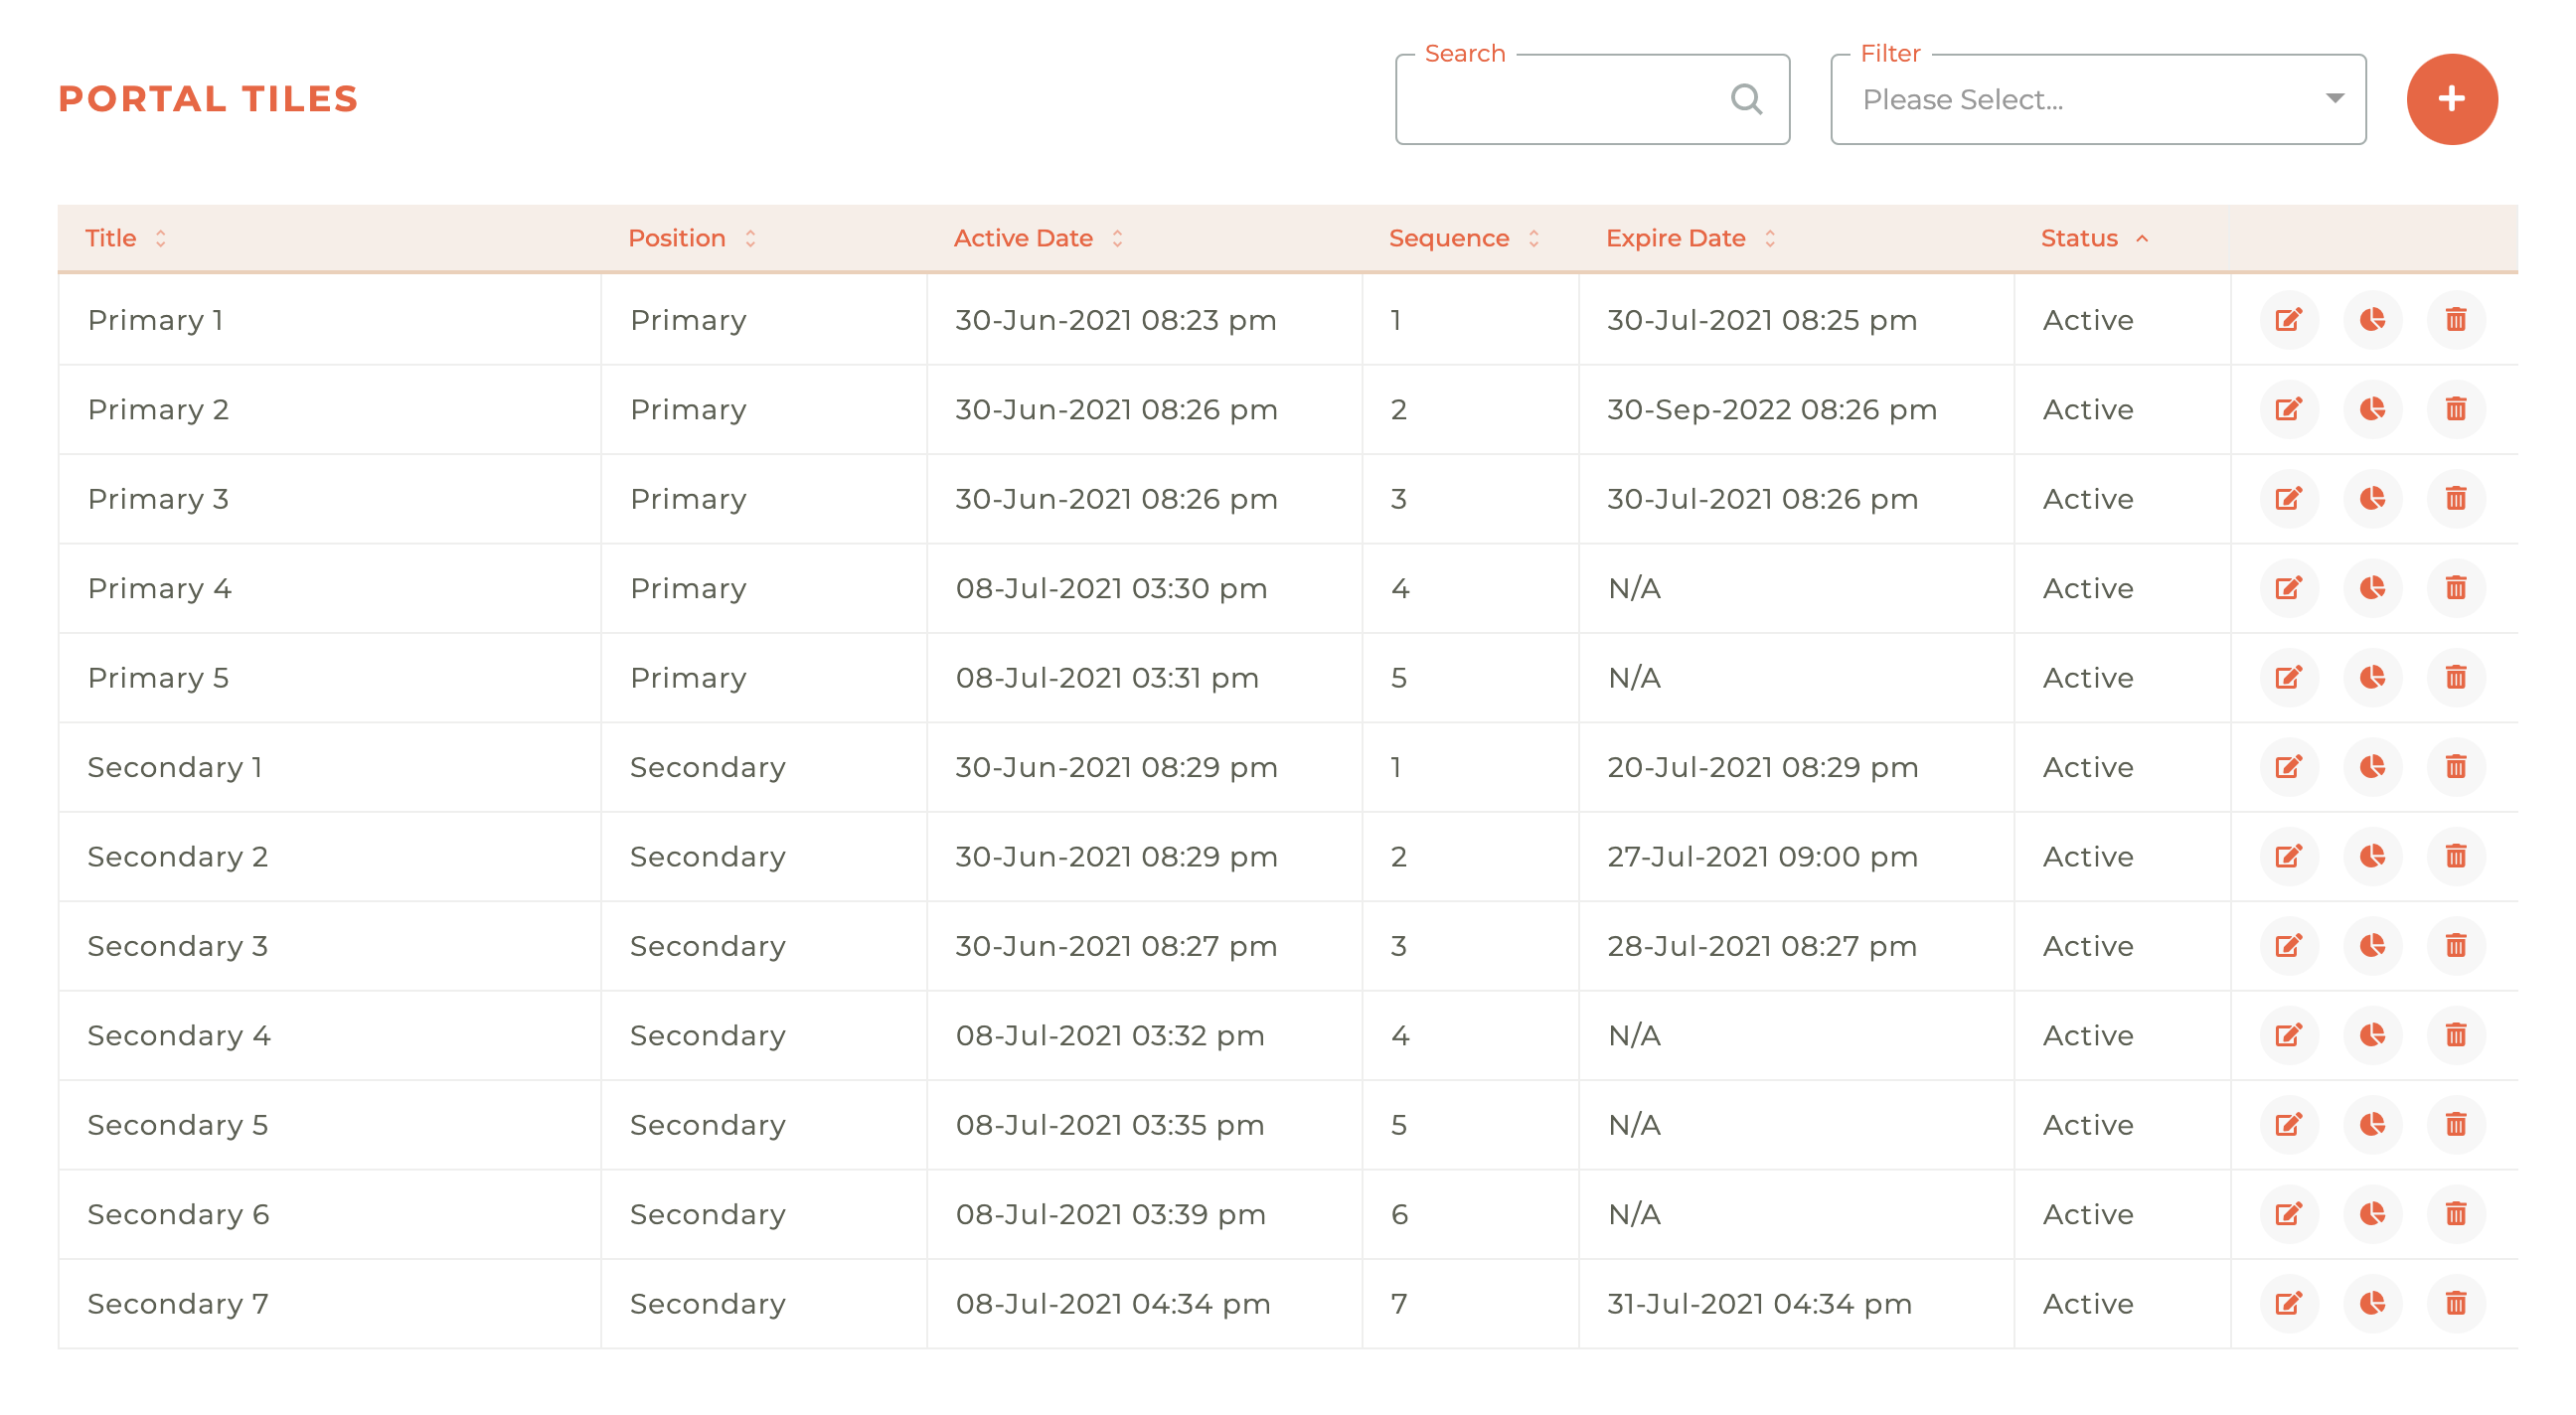
Portal tiles are organize by Status, Postion and Sequence. You may sort by any field type by clicking on the title at the top of the column. You may also search by title and filter by Status (Active, Pending, or Expired) and Position (Primary or Secondary).
¶ Creating A New Portal Tile
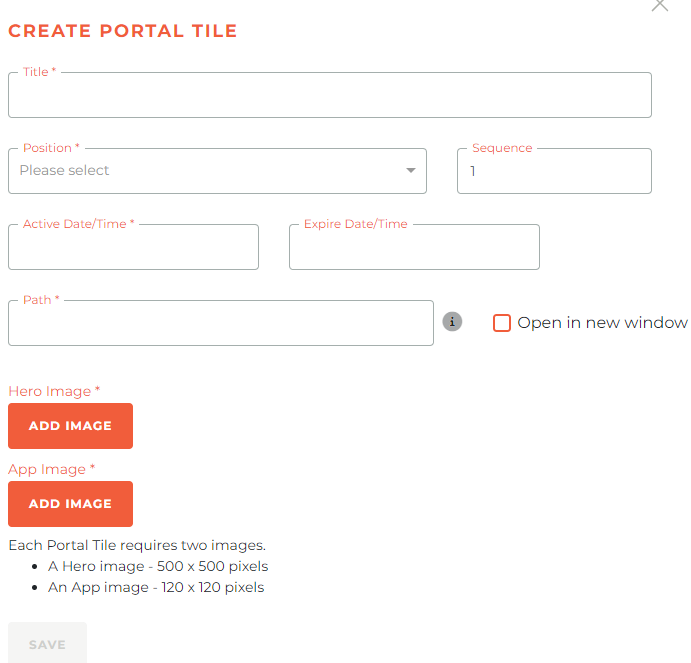
To create a new Portal Tile, click on the - - icon in the upper right hand corner of the Portal Tiles Dashboard. This will cause the "Create Portal Tile" window to open from the right side of the dashboard.
Title, Position (Primary or Secondary), Active Date/Time and a link path are mandatory. If you do not want a tile to expire, leave the Expire Date/Time field blank.
To have them be opened into a new window instead of the current one you can select the "Open in new window" checkbox.
You must also add two images for each new Portal Tile, a 500 pixel square "Hero Image," and a 120 pixel square "App Image."
The save button will appear once all mandatory fields have been filled.
¶ Adding Path Substitutions
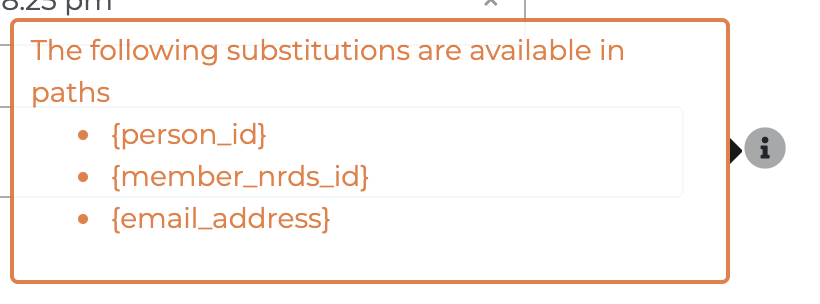
The path that a Portal Tile can lead to can be a simple link, like http://www.google.com, or a complex link that passes along specific information about the person. The substitutions availalbe are, {person_id}, {member_nrds_id}, and {email_address}.
¶ Editing Or Deleting An Existing Portal Tile
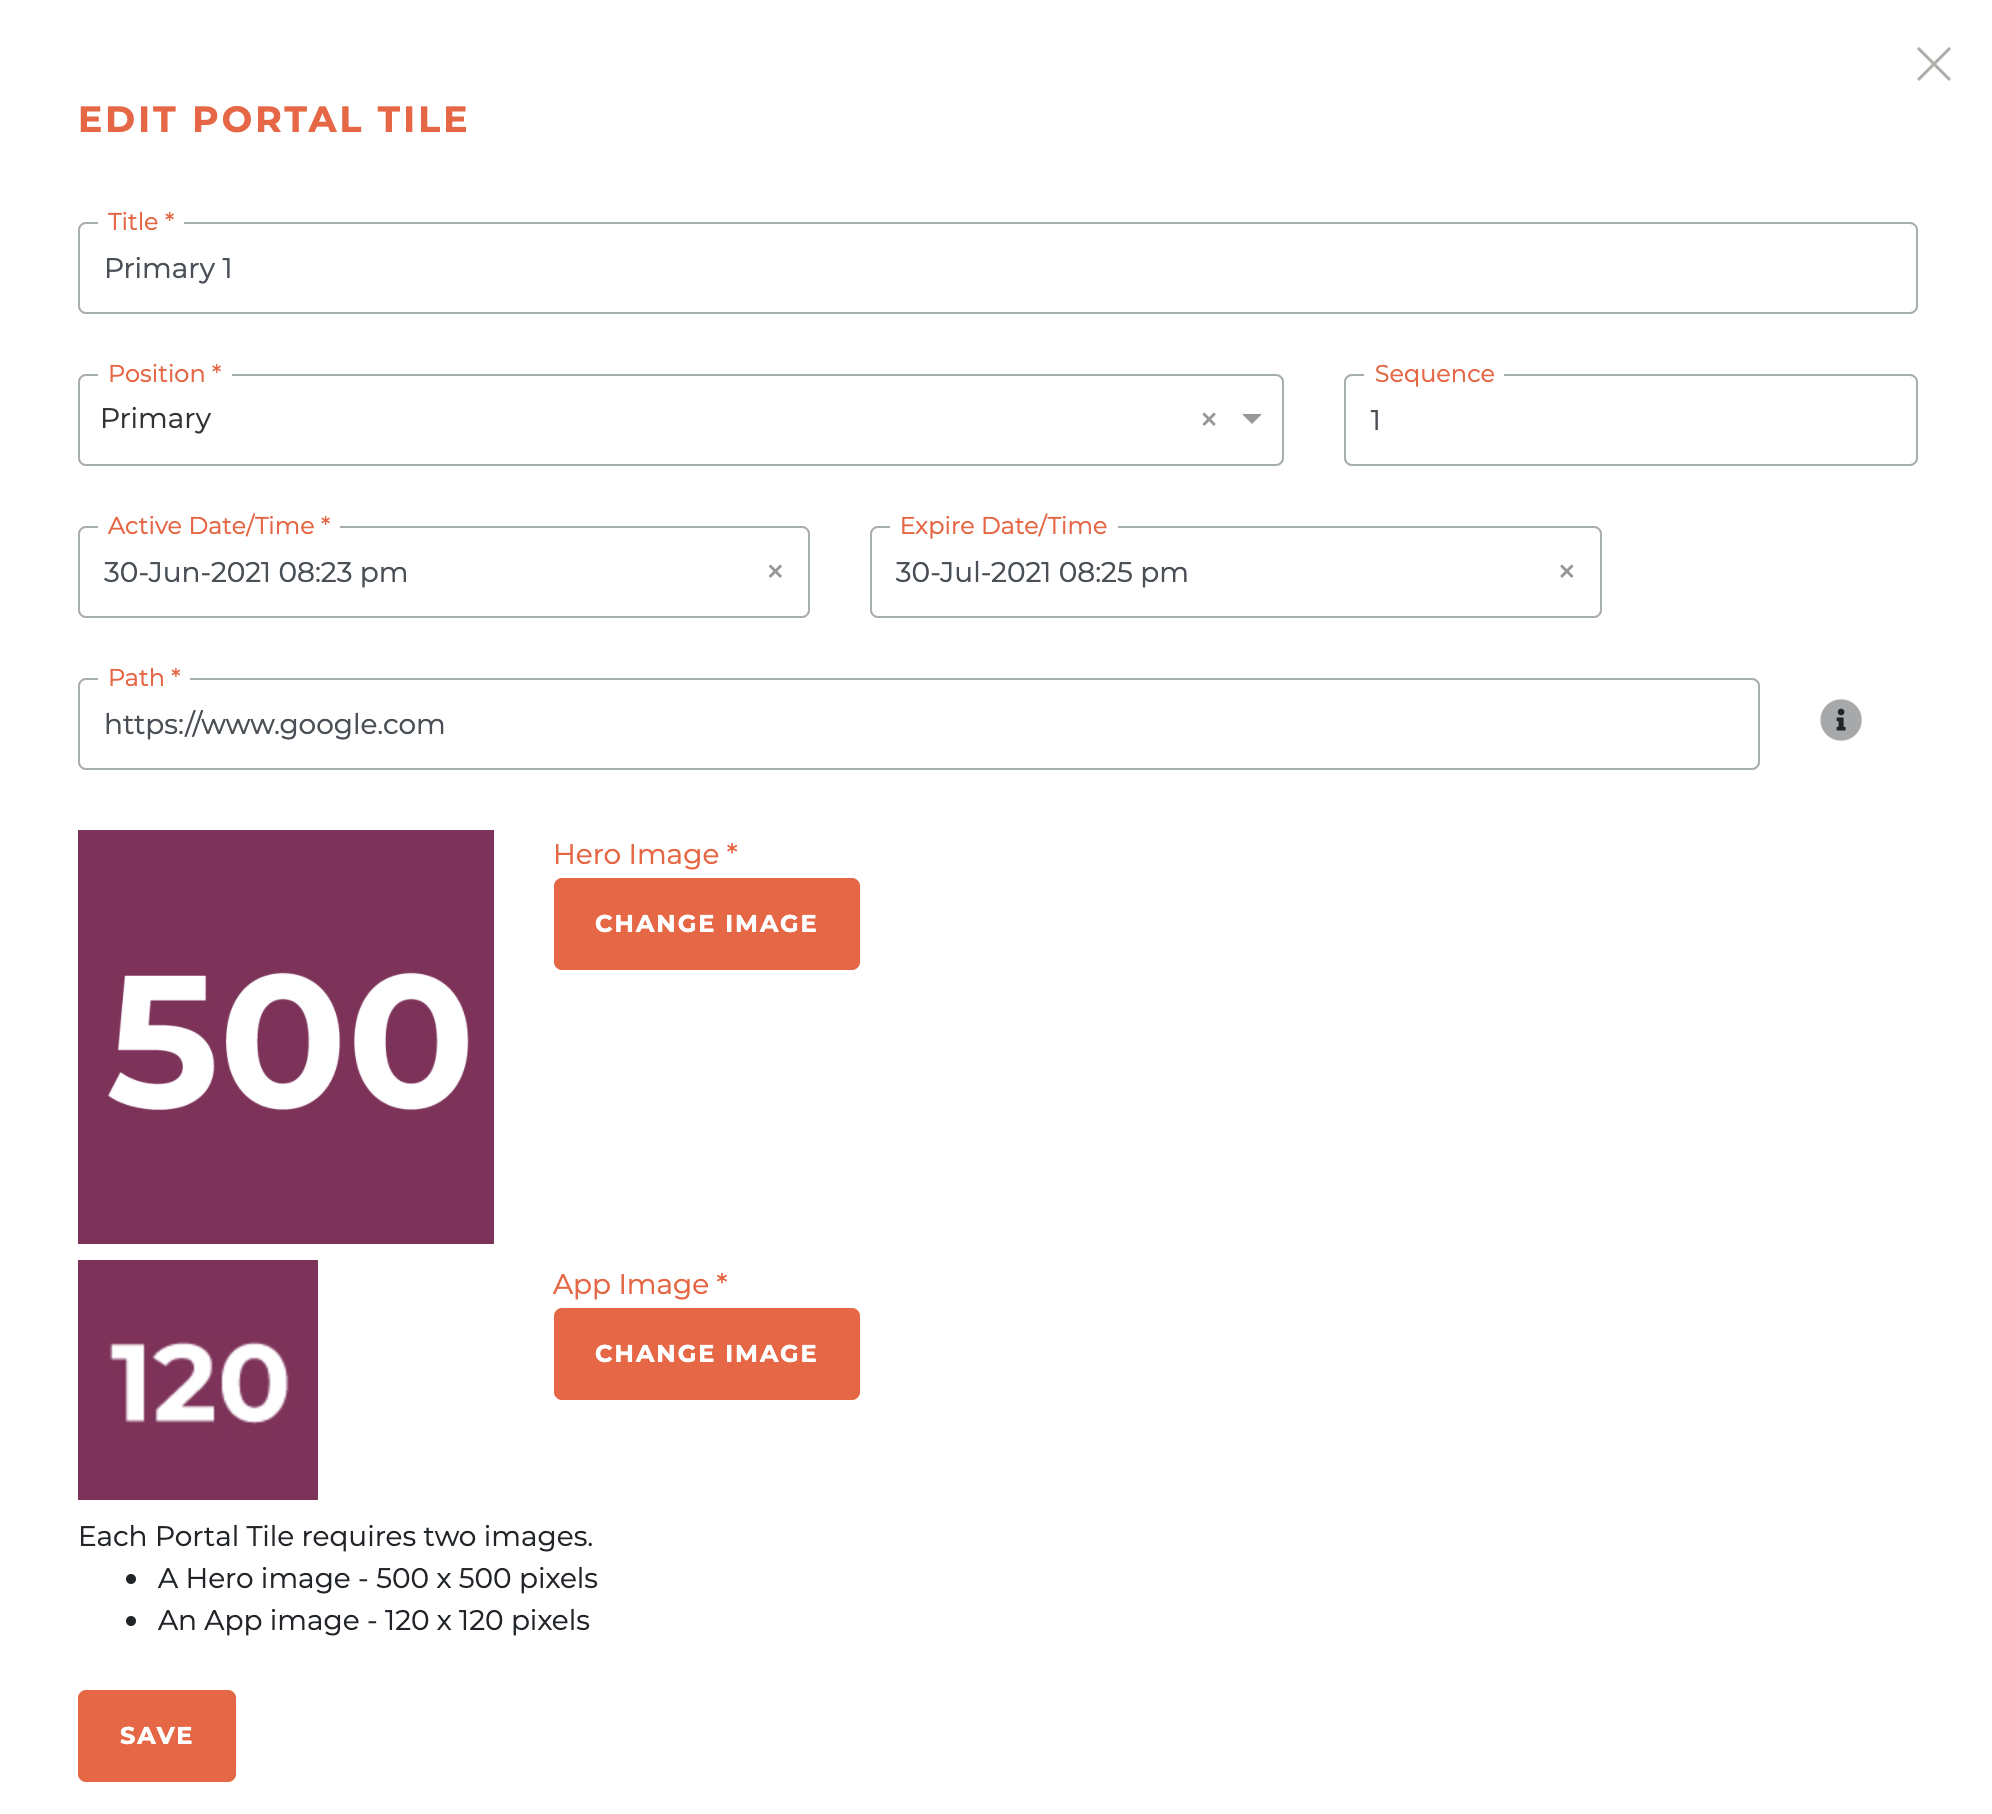
Portal tiles may be edited or deleted at any time. To edit a Portal Tile, click on the - - icon related to the Portal Tile you wish to edit. This will cause the Edit Portal Tile window to slide out fro the right side of the dashboard. You may edit anything in a Portal Tile at any time.
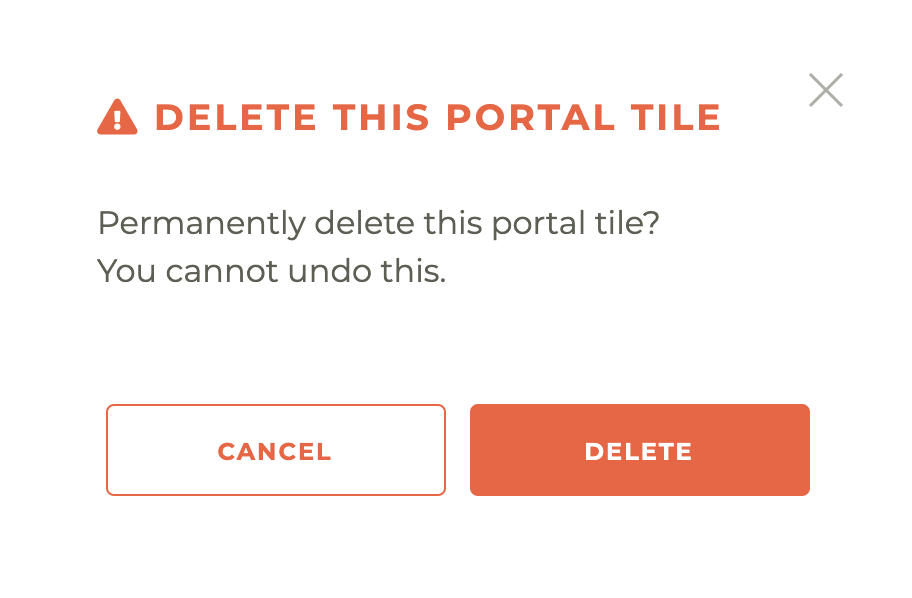
To delete a Portal Tile, simply click on the - - icon associated with the Portal Tile you wish to delete. This will cause a warning box to pop up. The delete action is unable to be undone.
¶ Adding A Segment To A Portal Tile
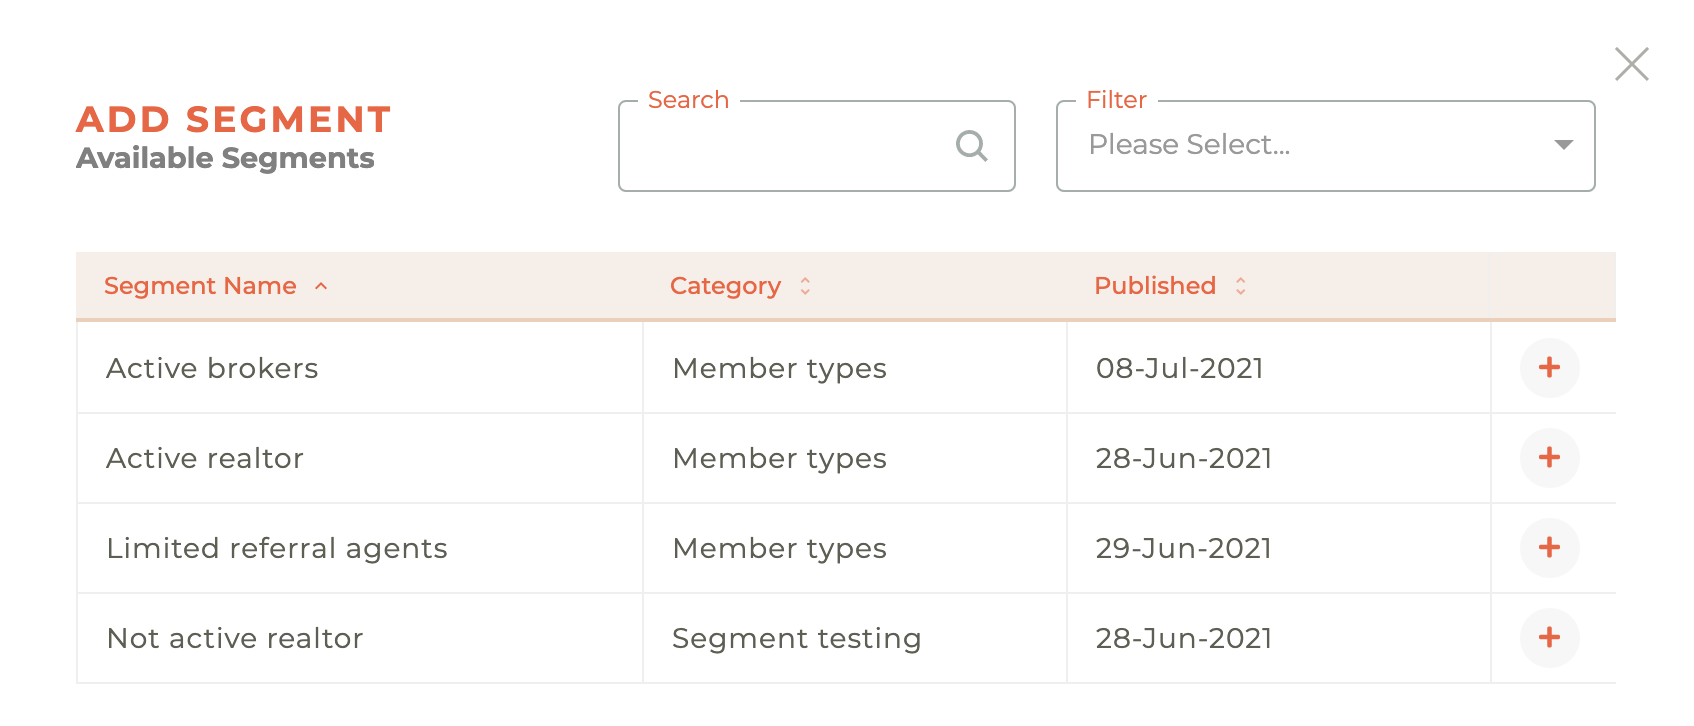
You may add a published Segment to a Portal Tile to limit it's view to ONLY persons who are included in the Segment. To add a Segment, click on the - - icon associated with the Portal Tile you wish to add the Segment to. This will cause the Add Segment window to slide out from the right side of the dashboard.

Click on the Add Segment button and you will be able to choose from the published Segments available. For example, if you only want a Portal Tile to be seen by Active Broker, you would choose a published segment that included only Active Brokers. Again, only published Segments can be chosen for Portal Tiles filtering.
¶ Portal Tiles Appearance in the Member Portal
Primary Tiles appear first in the Member Portal Dashboard. Secondary Tiles appear after the Primary tiles and will be the first tiles pushed to "view more" when space runs out.
The desktop view uses the 500 pixel square images. The mobile view uses 120 pixel square images.