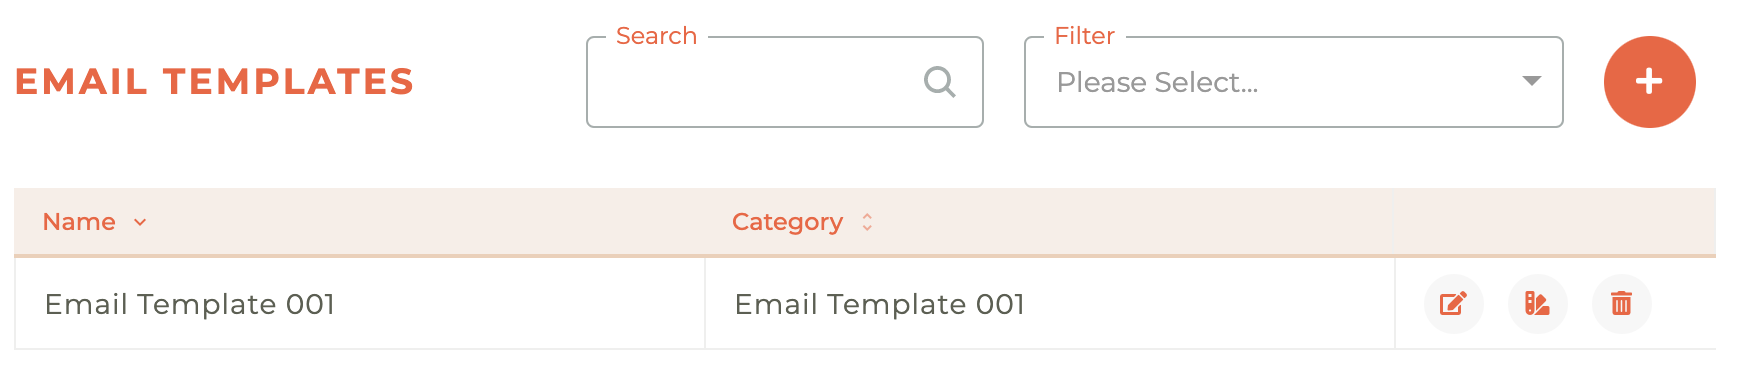
¶ Email Templates
The email templates pane is where your complete list of email templates are located. you can search on any text in our template list and filter by category.
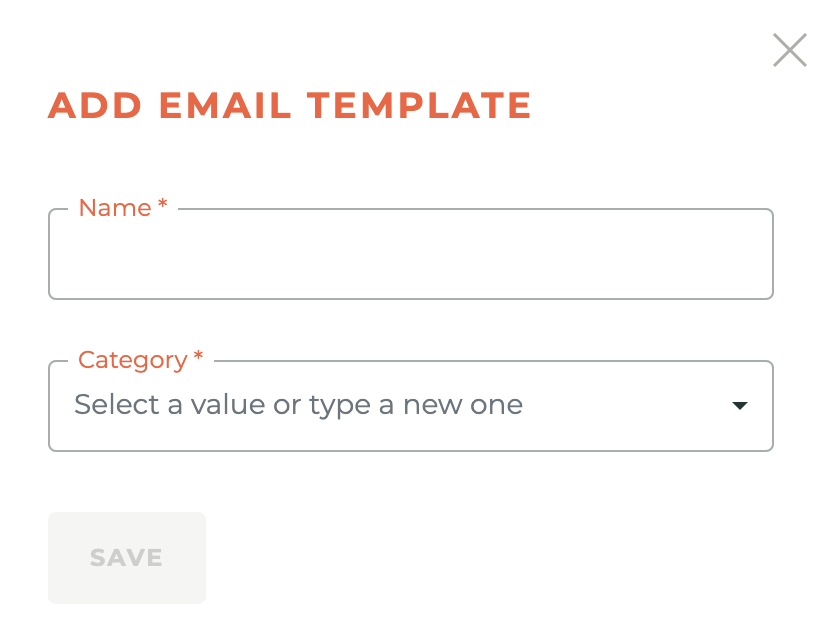
¶ Add Email Template
To add a new email template, click on the orange - - icon and an "Add Email Template" box will slide out from the right side of the screen. Name the template, select and existing category or create a new category and then save. Your new template is then ready to be designed.
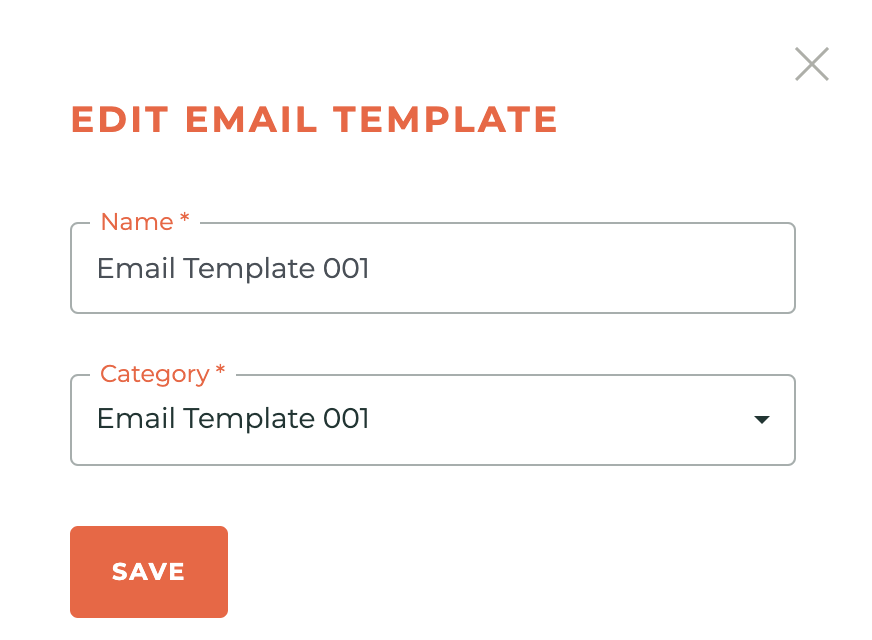
¶ Edit Email Template
You can rename the email template or assign it to a new category by clicking on the - - icon.
¶ Delete Email Template
Clicking on the - - icon for any email template will delete that template. You will get a warning prior to deletion and you should know there is no way to retrieve an email template once it is deleted. This is important to remember.
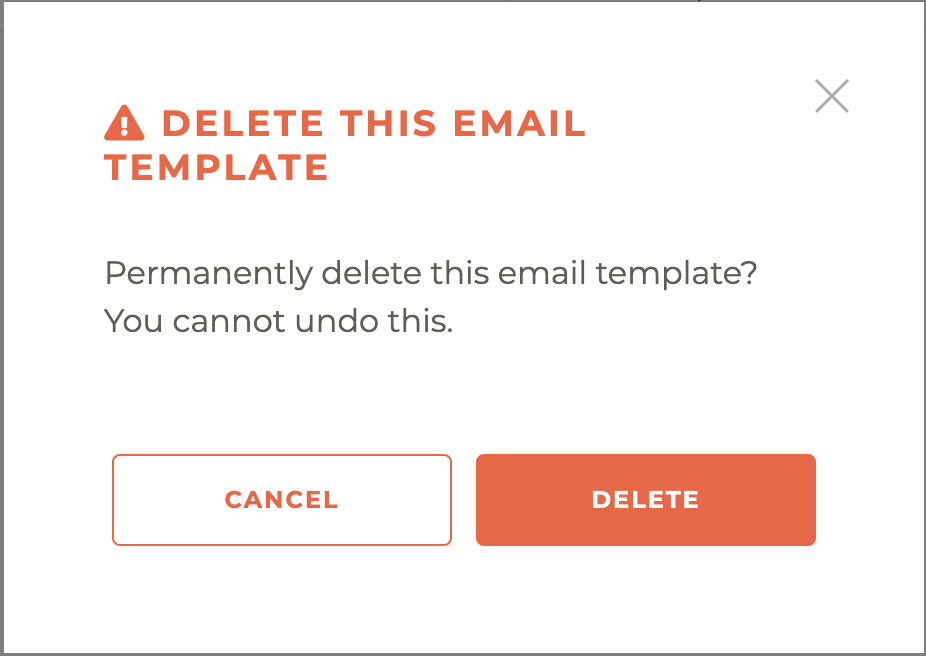
You cannot undo this. Neither can anyone at Tangilla.
¶ Email & Template Design
Campaign email design happens inside of a campaign and can begin with a blank template your Template Design you have created. Most email campaigns can be built using a blank template and content blocks you've predesigned, but there may be some complex cases where creating a Template Design will be important.
Templates MUST be created inside the Template Design section of communications. You can't save a design you've started in a campaign to a Template Design.
¶ Placing Content Blocks
Once you've named and saved your new email template, you can begin to design your template. The base email begins with a single content block at the top of the editing screen.
You can work on your new template design one content block structure at a time, or you can set up your overall structure first, then place conent into the content blocks. You can place as many content types into one content block as you wish, but they will all take on the overall "structure" of that content block. If you place an image conent and text content into the single coloumn content structure, they will both take up the full width of the email.
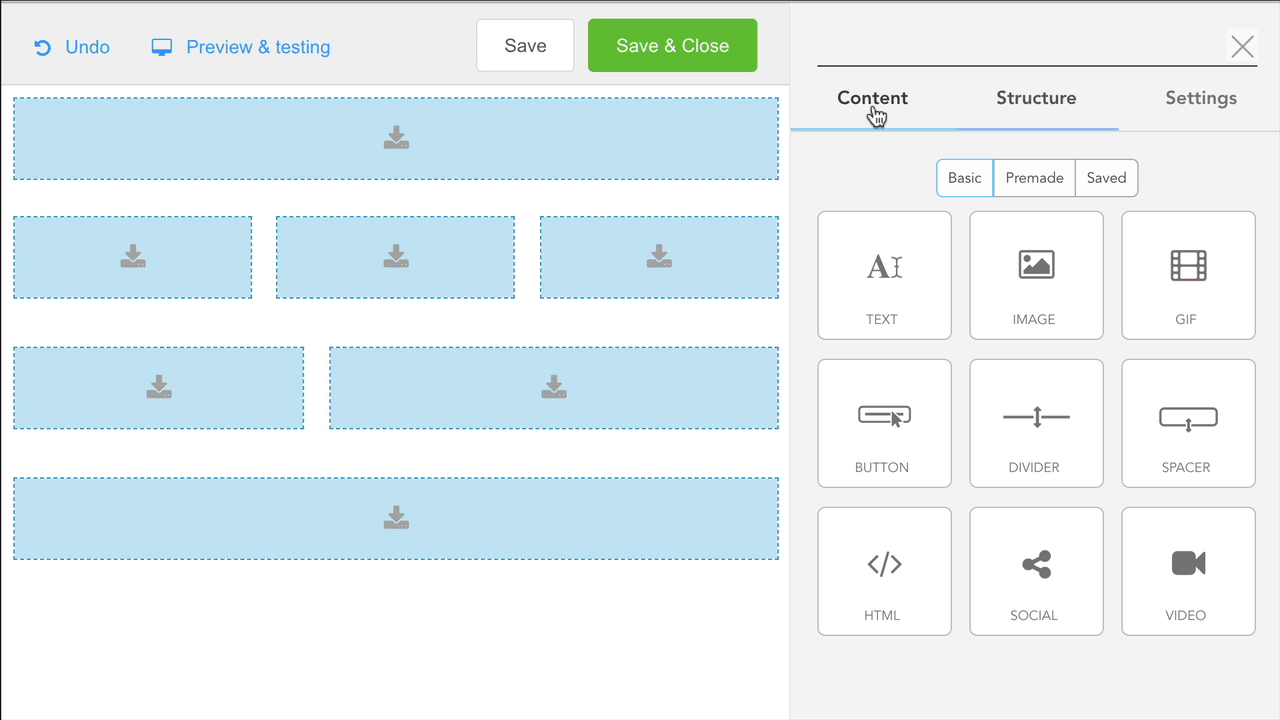
The different content block structures available to you can be found in the Structure tab. They are:
- Single column layouts.
- Two-column layouts.
- Three-column layouts.
- Four-column layouts.
- Mixed column layouts (e.g., a wide column next to a narrow column, or vice versa).
These layouts can be dragged and dropped into the email canvas, providing a flexible way to organize and present different types of content within the email. Below is an example of how this works.
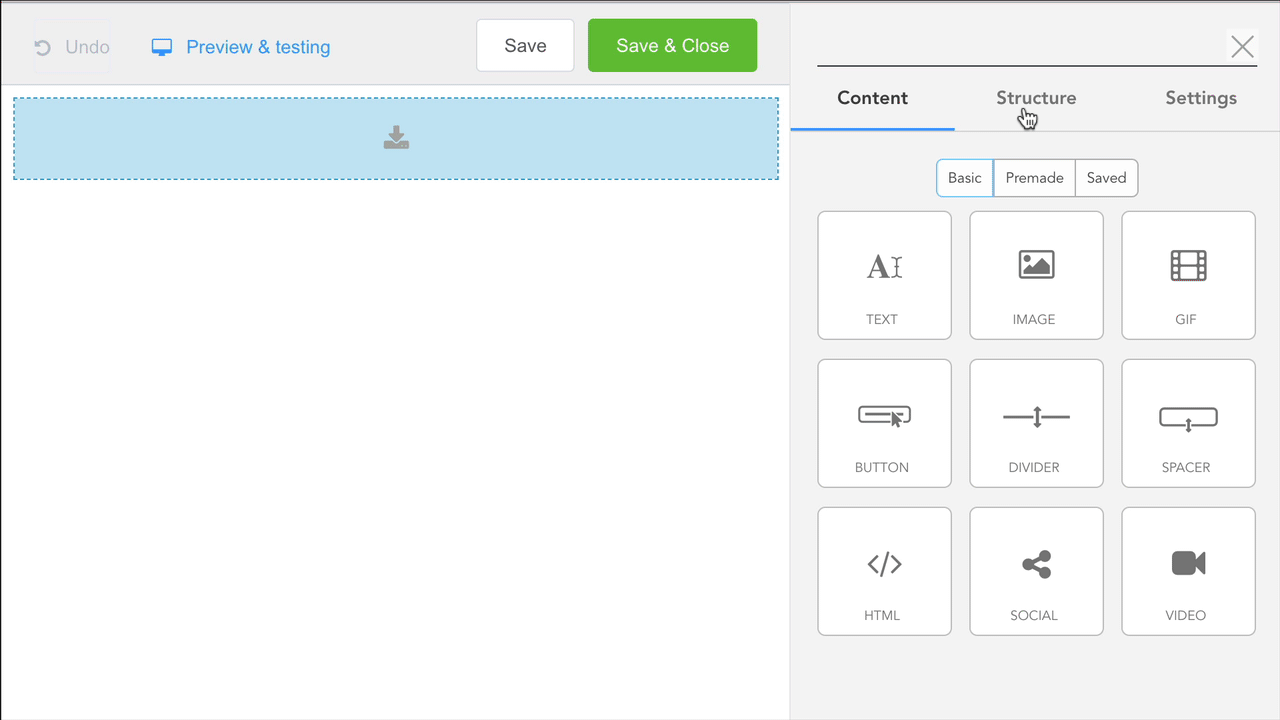
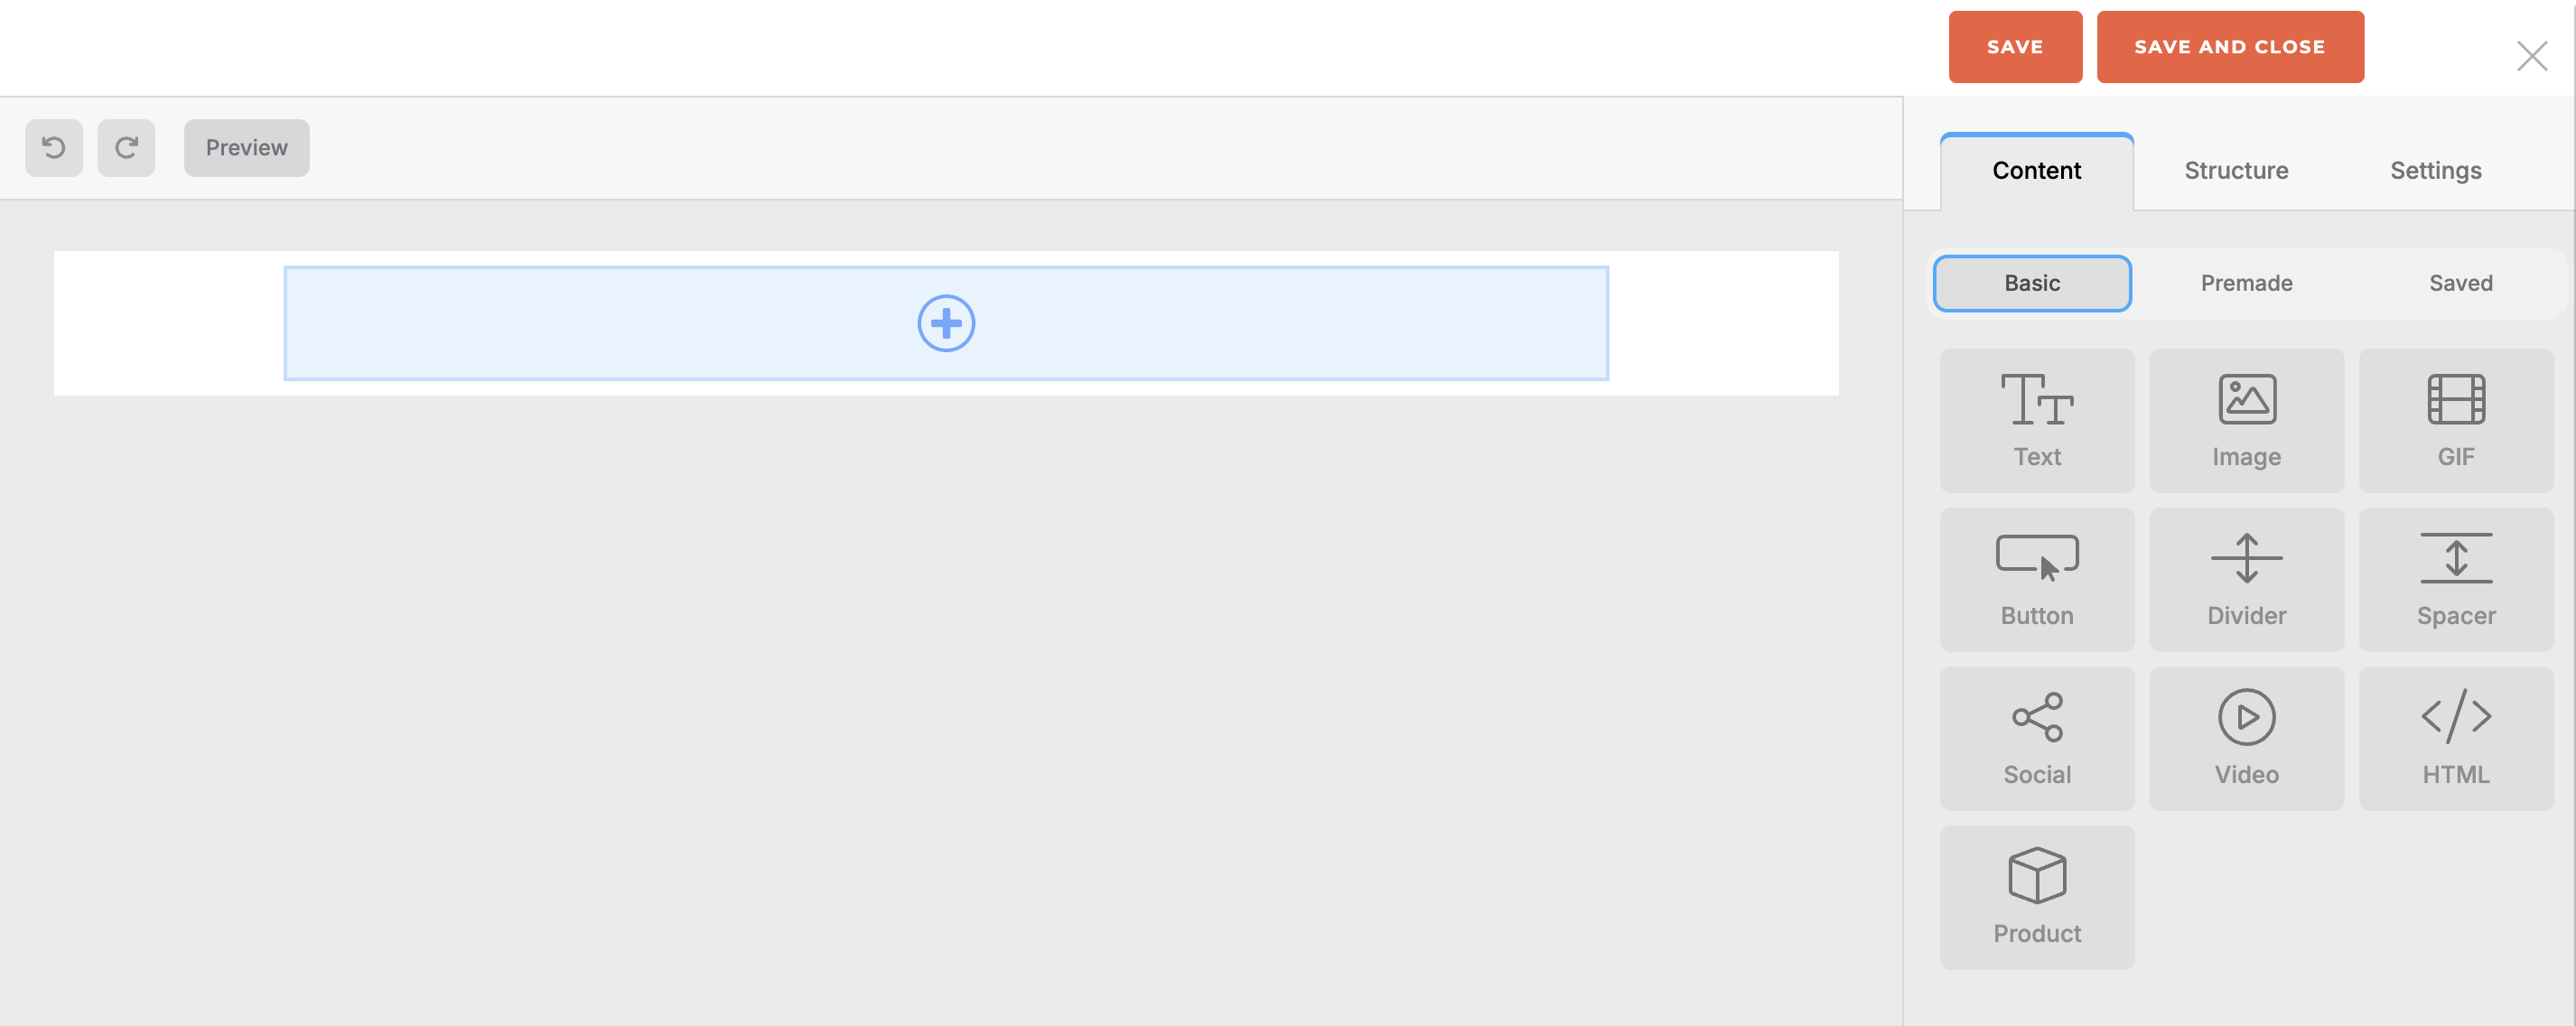
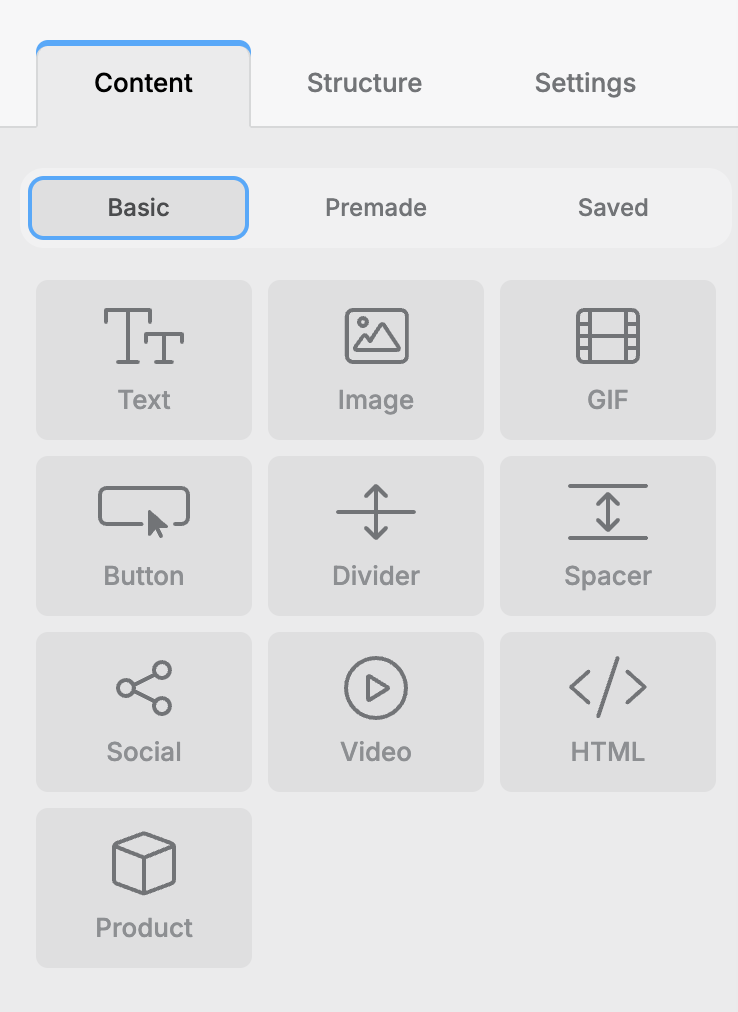
¶ Placing Content Types Into Blocks.
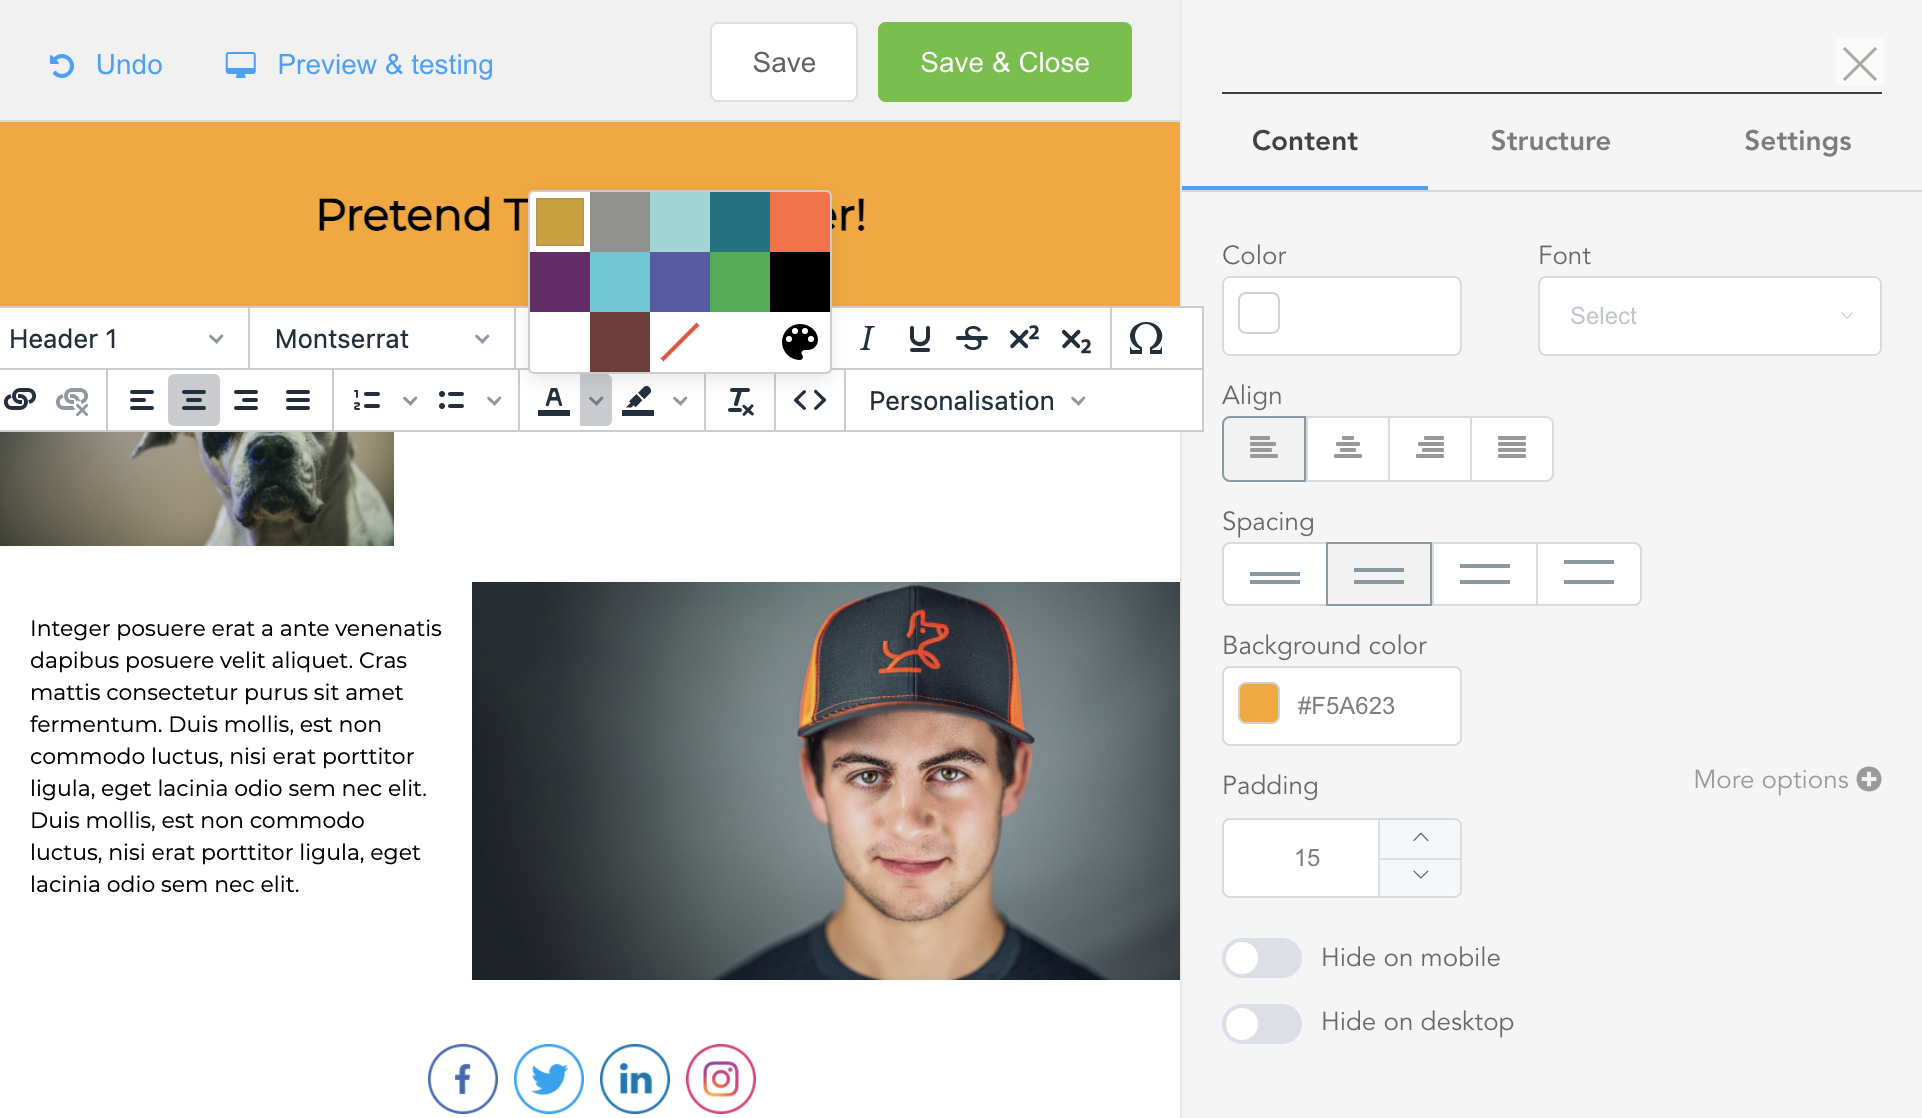
Once you have placed a content block structure into your template, you can fill it with any content type, or multiple content types. The content types available to you are text, image, gif, button, divider, spacer, html, social and video. Each of these content blocks have their own settings for controlling the look and feel of the content, which is described in the following secton.
The content types drag and drop into place in the structural element. If a structural element is empty, you can click on the box and it will display content types available to place into the box.
¶ Content Edit Controls
Every content block has a set of editing controls, either above the content block (text editing) or in the side panel. These controls will be familiar to you if you've used any web design tools in the past. The best way to learn these tools is to play with them. The email editor is simple to use, so recreating a small portion of your work if you make a mistake will not be a harsh penalty. 
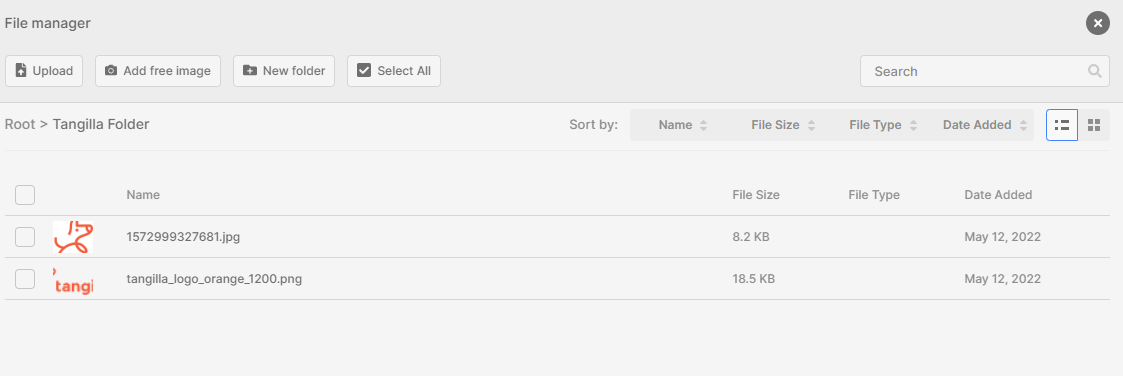
¶ Images
Working with images on email templates is done through a file manager. Images must be uploaded there to be selected on the image component.
When managing the files you can create folders to organize them, to create one use the new folder button type its name and hit enter to confirm it, however due to limitations on the systems empty folders are not preserved, you should upload an image into it when creating it in order to keep that folder.
¶ Saving A Premade Content Block
There are many content block structures that you are going to want to build once and use many times. This will, of course, include headers and footers, but may also include main email content types that will be used again and again. An example might be headshots with a title and text below each in a three column structure. It could be a photograph in the left side of a three column structure with two text blocks.
You can save ANY content block you'd like to use again and they will be availabe to you in the "Premade" content tab. You can ignore the "Saved" content tab, that is not currently being used inside Tangilla.

¶ Previewing & Testing
An important part of designing an email is being able to test how it's going look on both desktop and mobile. This is done using the Preview & Testing link in the top left of the email designer.
This will allow you to toggle between desktop and mobile previews for the email you are working on. Almost all content types can be turned on or of in desktop of mobile view, should you choose to hide some content depending on the device on which the email is consumed by your members. This is up to you.

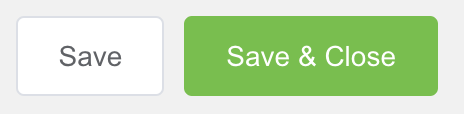
¶ Save/Save And Close
You can choose to save your progress and keep working, or you can choose to save and close.
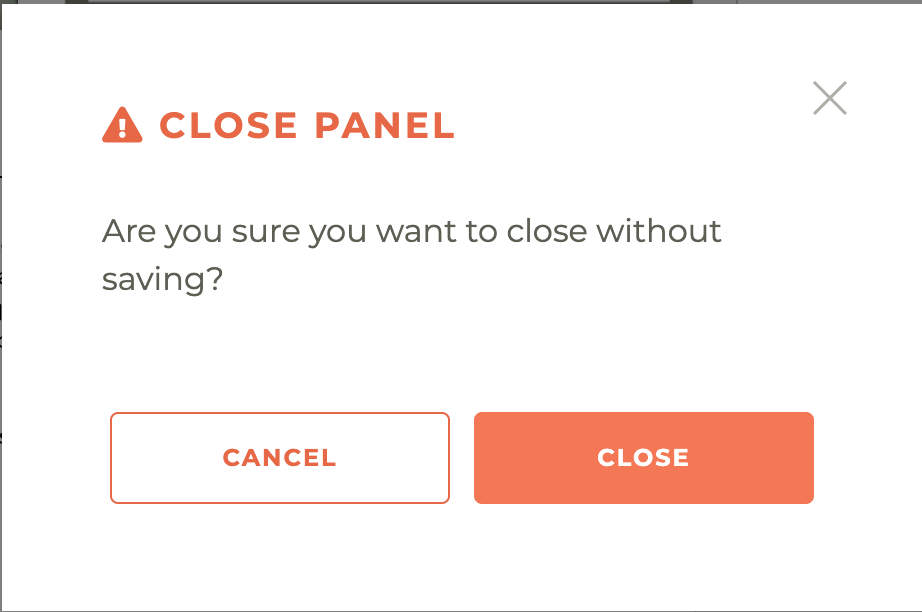
If you attempt to leave the email designer without saving, you'll be presented with the following warning: "Are you sure you want to close without saving?"
¶ Overall Email Settings
The settings tab is where you control the overal email template settings. These settings include Max width for the content stuctures, color settings (which can be overridden inside any content block), font settings, line height, and any invisible preheader content you wish to include.
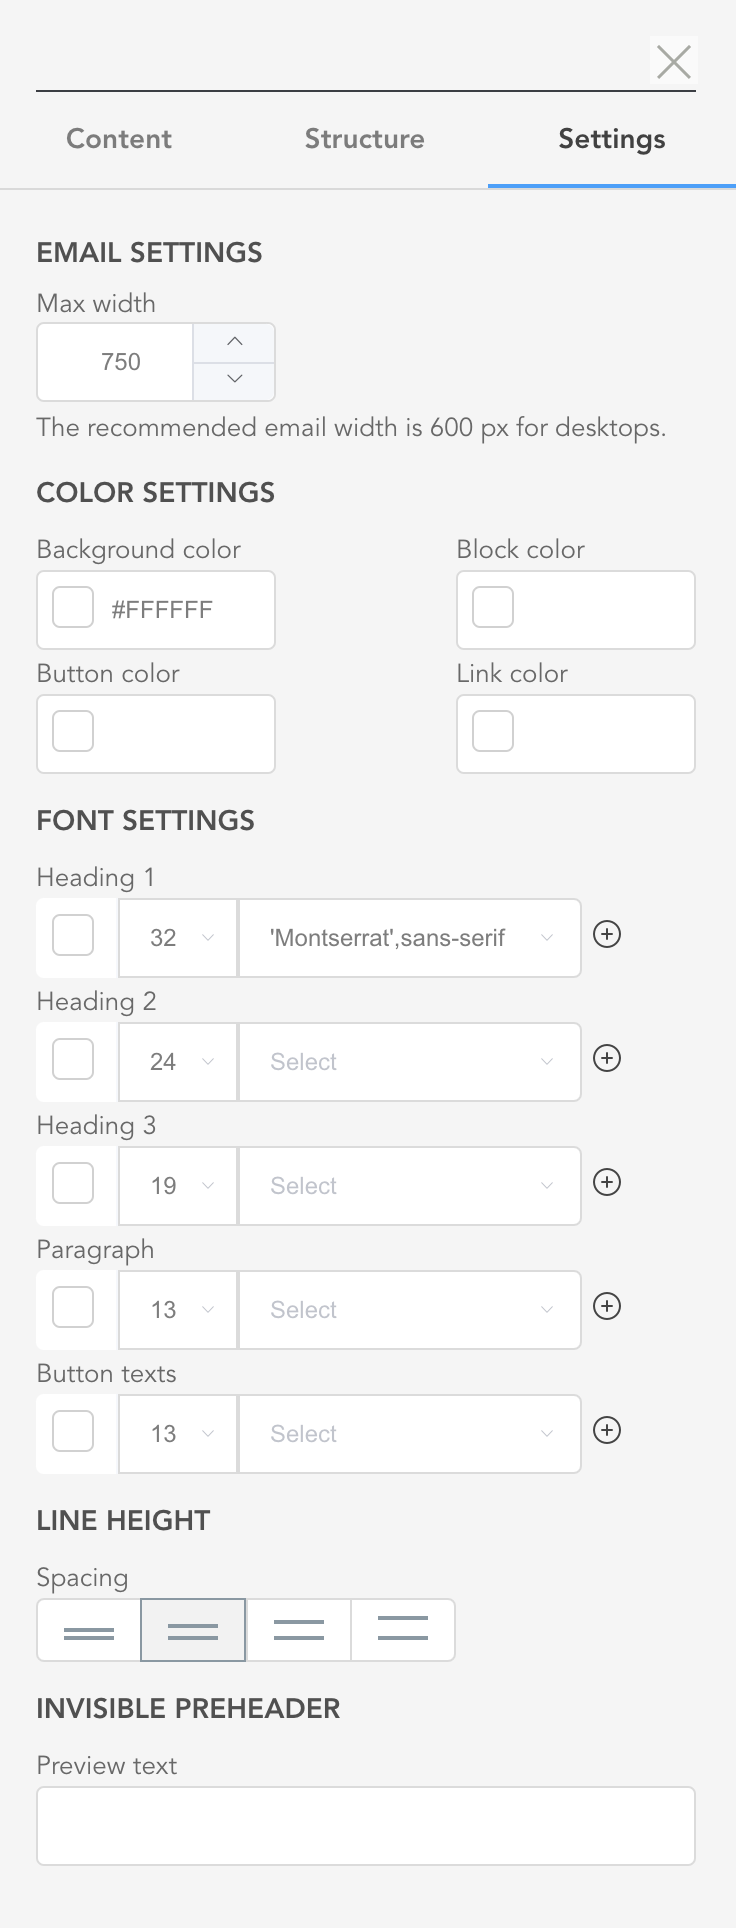
-
Invisible header: Allows adding a hidden header, often used for email clients that display preview text.
-
Preview text: A short snippet of text that appears in the recipient's inbox preview.
-
E-mail template maximum width: Sets the maximum width of the email template. 600 pixels is recommended for desktop viewing, and the current template width is set to 750 pixels.
¶ Template colors:
- E-mail background: Sets the background color of the entire email.
- Blocks background: Sets the background color of individual content blocks, with "transparent" selected.
- Buttons: Sets the color of buttons.
- Hyperlink: Sets the color of hyperlinks.
¶ Font settings:
- Heading 1: Font color, size, and type for the main heading.
- Heading 2: Font color, size, and type for the secondary heading.
- Heading 3: Font color, size, and type for the tertiary heading.
- Paragraph: Font color, size, and type for the paragraph text.
- Button texts: Font color, size, and type for button text.
- Default line-height: Sets the line-height for the text in the email, with options for predefined settings or a precise custom value. The current setting is 1.5.
A preheader is the short summary text that follows the subject line when viewing an email from your inbox. Many mobile,desktop and web email clients provide email preheaders to tip you off on what the message contains before you open it. The choice to make this visible or invisible will likely depend on the complexity of the email you're sending.